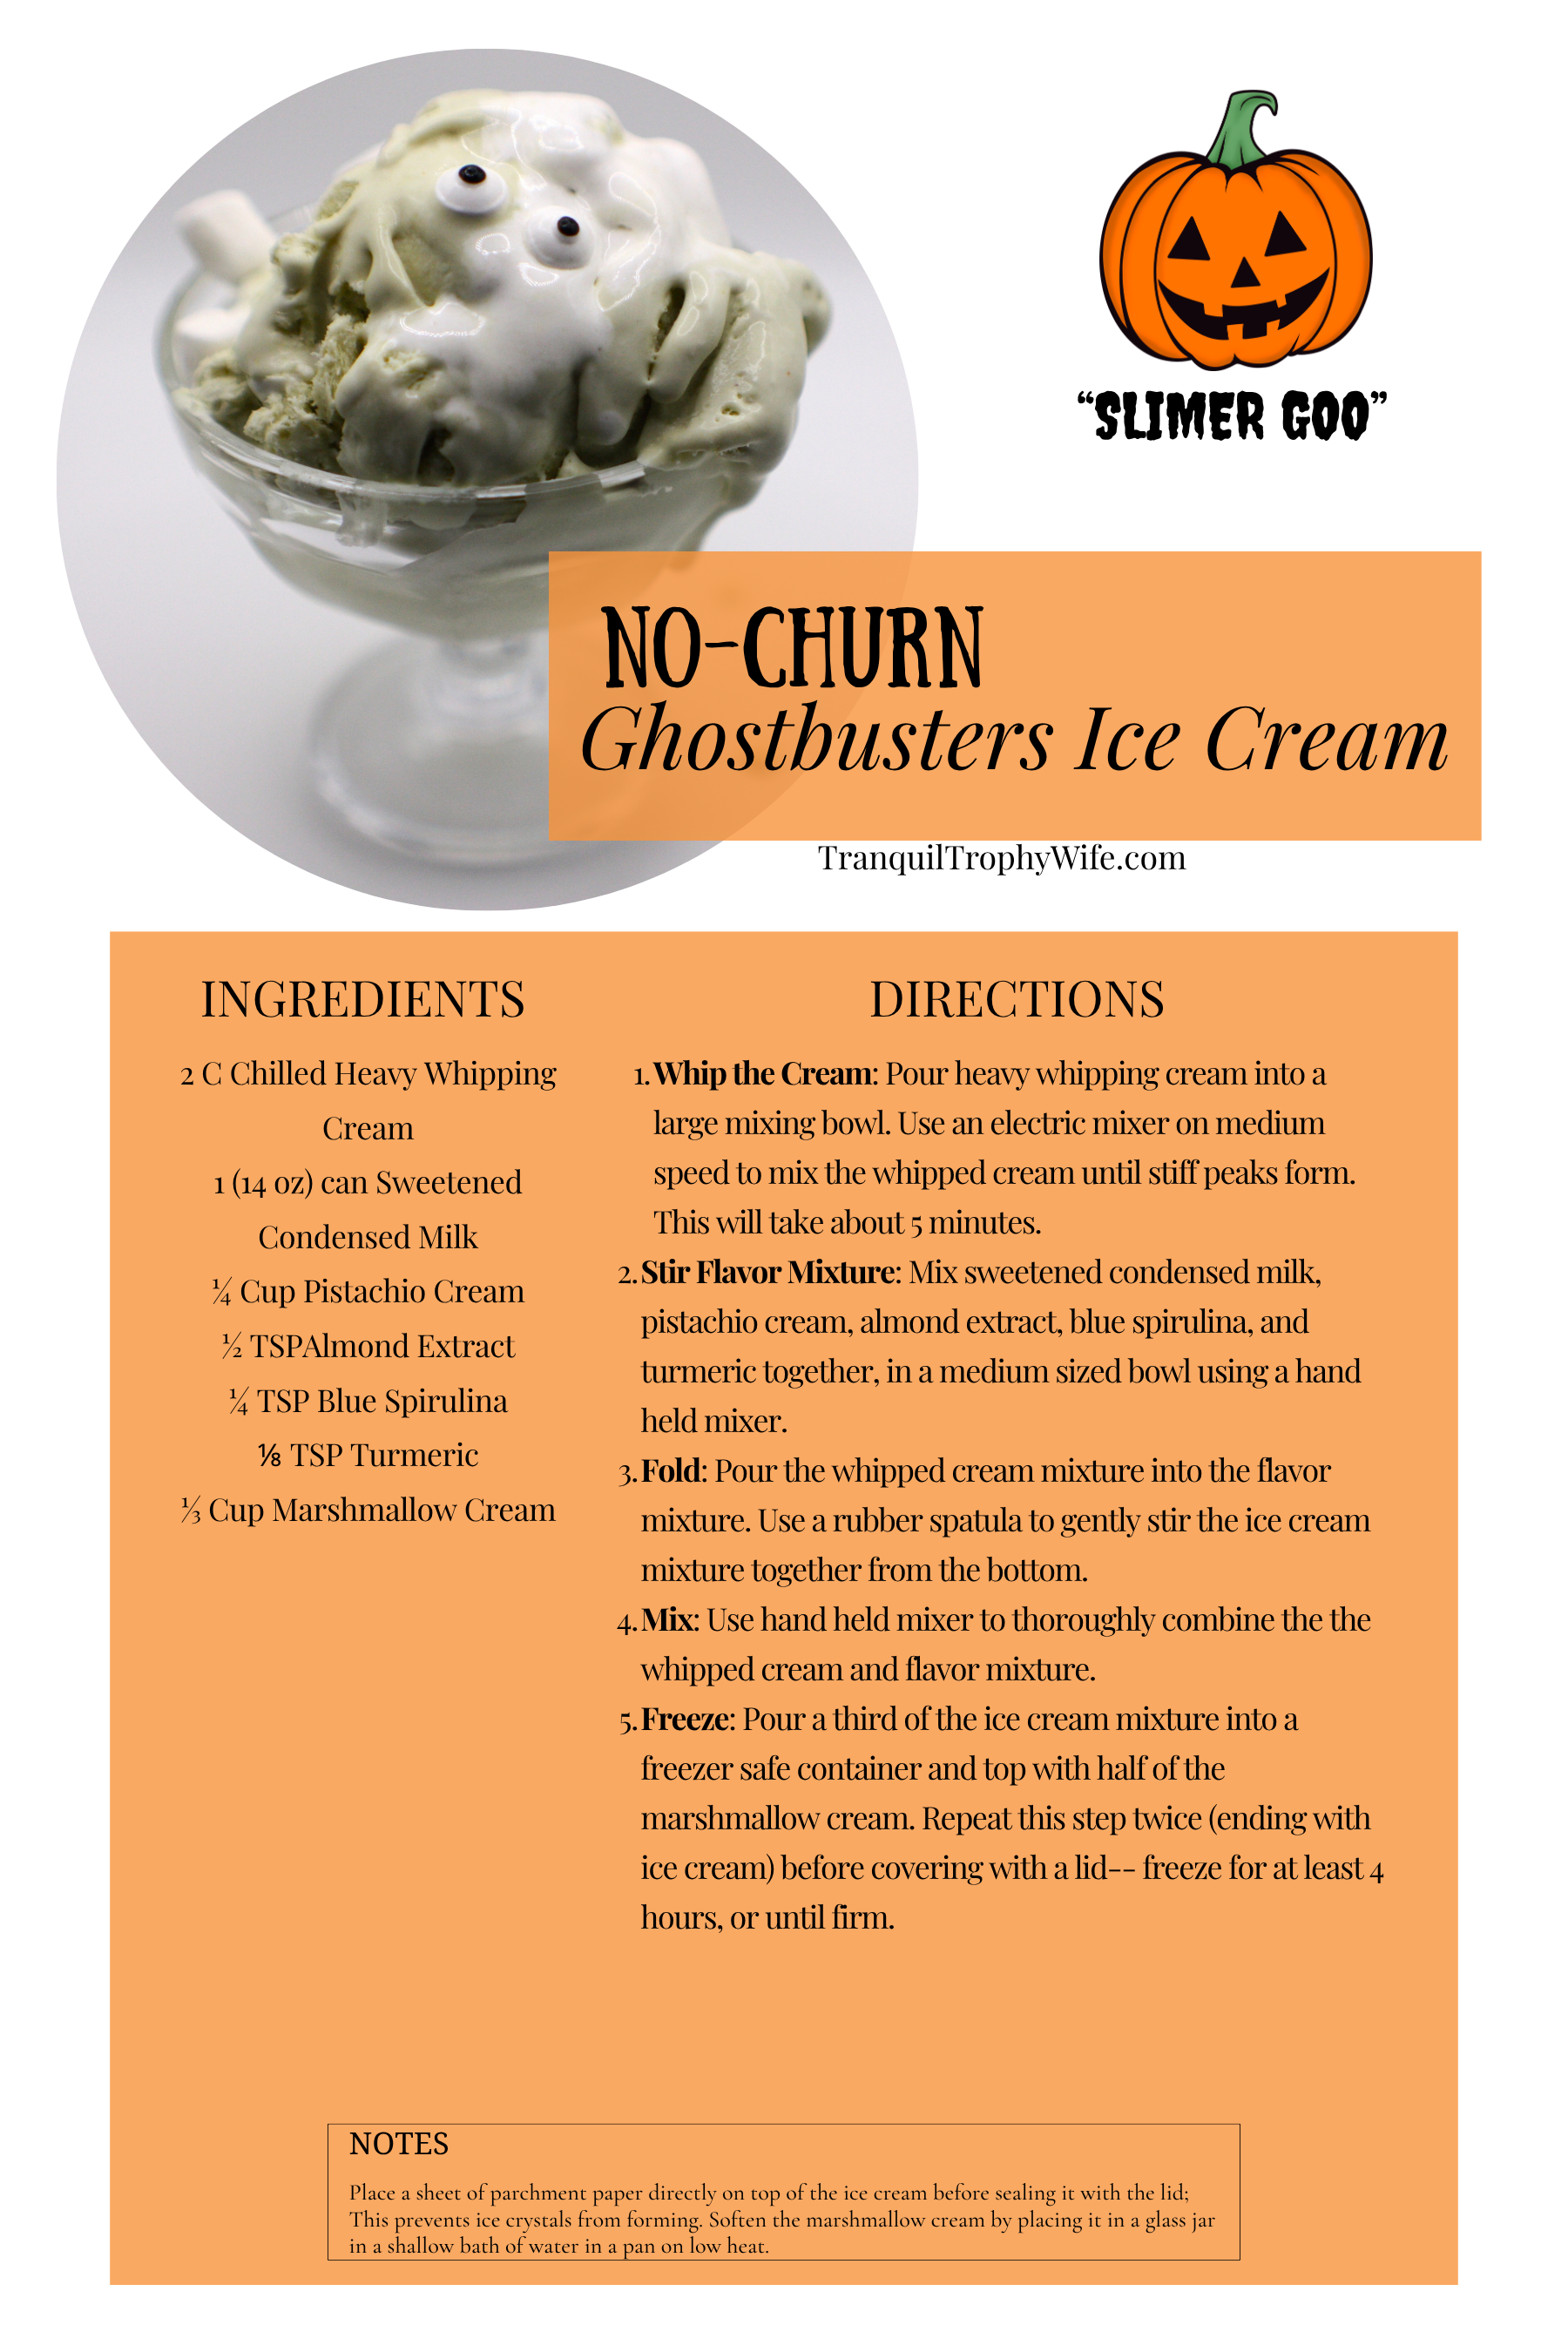
No-Churn Ghostbusters Inspired “Slimer Goo” Ice Cream
“Who ya gonna call?”
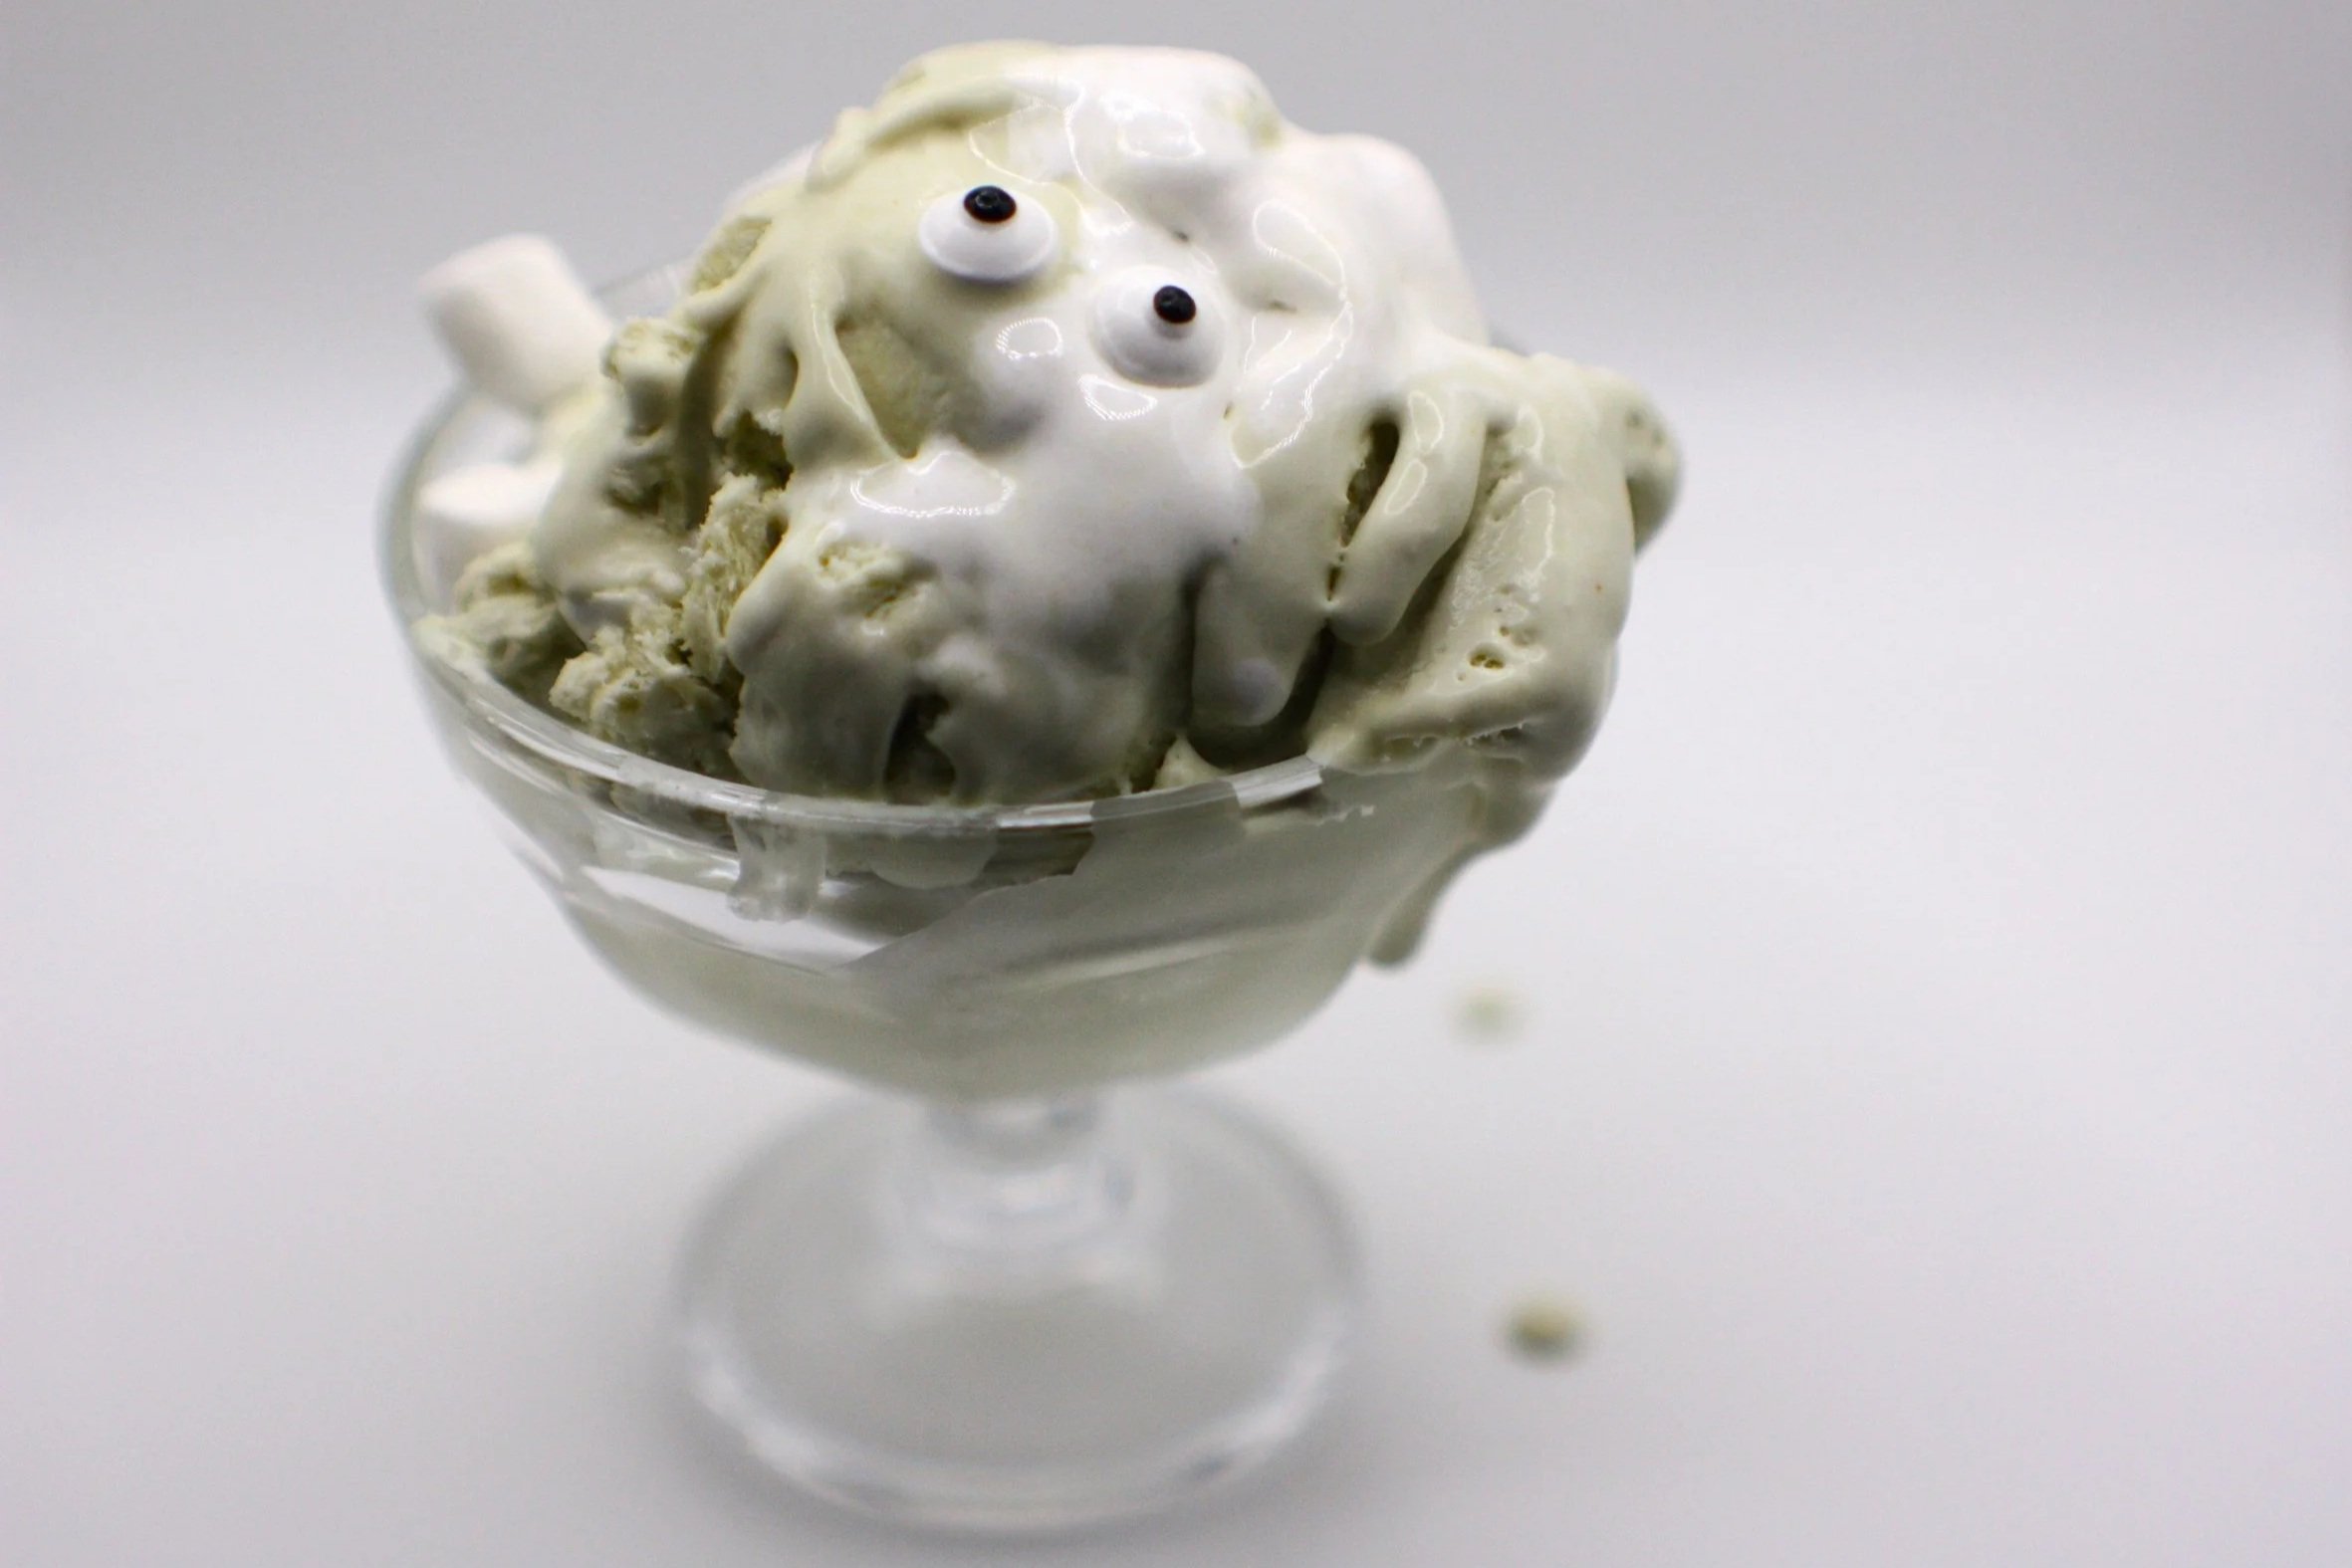
“Slimer Goo” Ice Cream
The recipes and baking tips shared on Tranquil Trophy Wife are based on my personal experience, research, and kitchen testing. Results may vary depending on ingredients, equipment, technique, altitude, humidity, and individual skill level.
My goal is to make baking approachable, enjoyable, and a little less intimidating. Every baker starts somewhere, and perfection is never required. Happy baking!
Every October, my husband and I try to watch as many spooky movies as possible. Spooky Movie Month, is what we call it. This tradition began early on in our marriage. Papa is obsessed with horror movies, and I love all things Halloween. Typically, we make a list of movies and draw titles out of a bowl to determine what movie we would watch. Now, we have two kids that love Spooky Movie Month as much as we do! Unfortunately for Papa, the girl hates horror movies. So, we compromise. Halloween movies, spooky movies, and maybe a few mild horror movies thrown in.
This year, I decided to make things more exciting by pairing a no-churn ice cream flavor with each of our favorite movies. Between Halloween and Valentines Day, it’s challenging to avoid artificial food dyes. So, I had to take matters into my own hands to create fun treats for my family. No better way to begin the holiday season than with some Slimer Goo! Inspired, of course, by the Ghostbusters franchise, Slimer Goo is a pistachio ice cream with a marshmallow swirl. I think we can all agree that the Stay Puft Marshmallow Man plays an iconic role in this film.
I love this recipe because it’s simple, this is a perfect beginner no-churn ice cream recipe that only takes about 15 minutes to prepare. This Slimer Goo is best served topped with mini candy eyeball sprinkles and mini marshmallows! I found the cutest dye-free candy eyeballs on Amazon. Of course, don’t forget to watch Ghostbusters while you eat this sweet treat!
Key Ingredients
Heavy Whipping Cream— This is the base for this ice cream. Once whipped, the cream provides a fluffy and creamy element to the ice cream, which is the reason a machine isn’t needed.
Sweetened Condensed Milk— Condensed milk replaces the traditional custard mixture typically found in ice cream. Because the condensed milk has very little water and a high sugar content, it prevents the ice cream from freezing into a solid block.
Blue Spirulina— This is a vibrant blue powder that acts as a natural food coloring agent.
Turmeric— This is a yellow powder that acts as a natural food coloring agent.
Almond Extract— This emphasizes the nutty flavor from the pistachio cream.
Suggested Equipment
Stand Mixer— A stand mixer allows you to whip your cream while preparing your flavor mixture.
Handheld Mixer— A handheld mixer ensures the flavor mixture is thoroughly mixed before being combined with the whipped cream. This also quickly mixes the ingredients while keeping the whipped cream thick and fluffy.
Tips
Chill stand mixer bowl and balloon whisk in the freezer for at least 20 minutes before use.
Soften the marshmallow cream by placing it in a glass jar in a shallow bath of water in a pan on low heat.
Directions
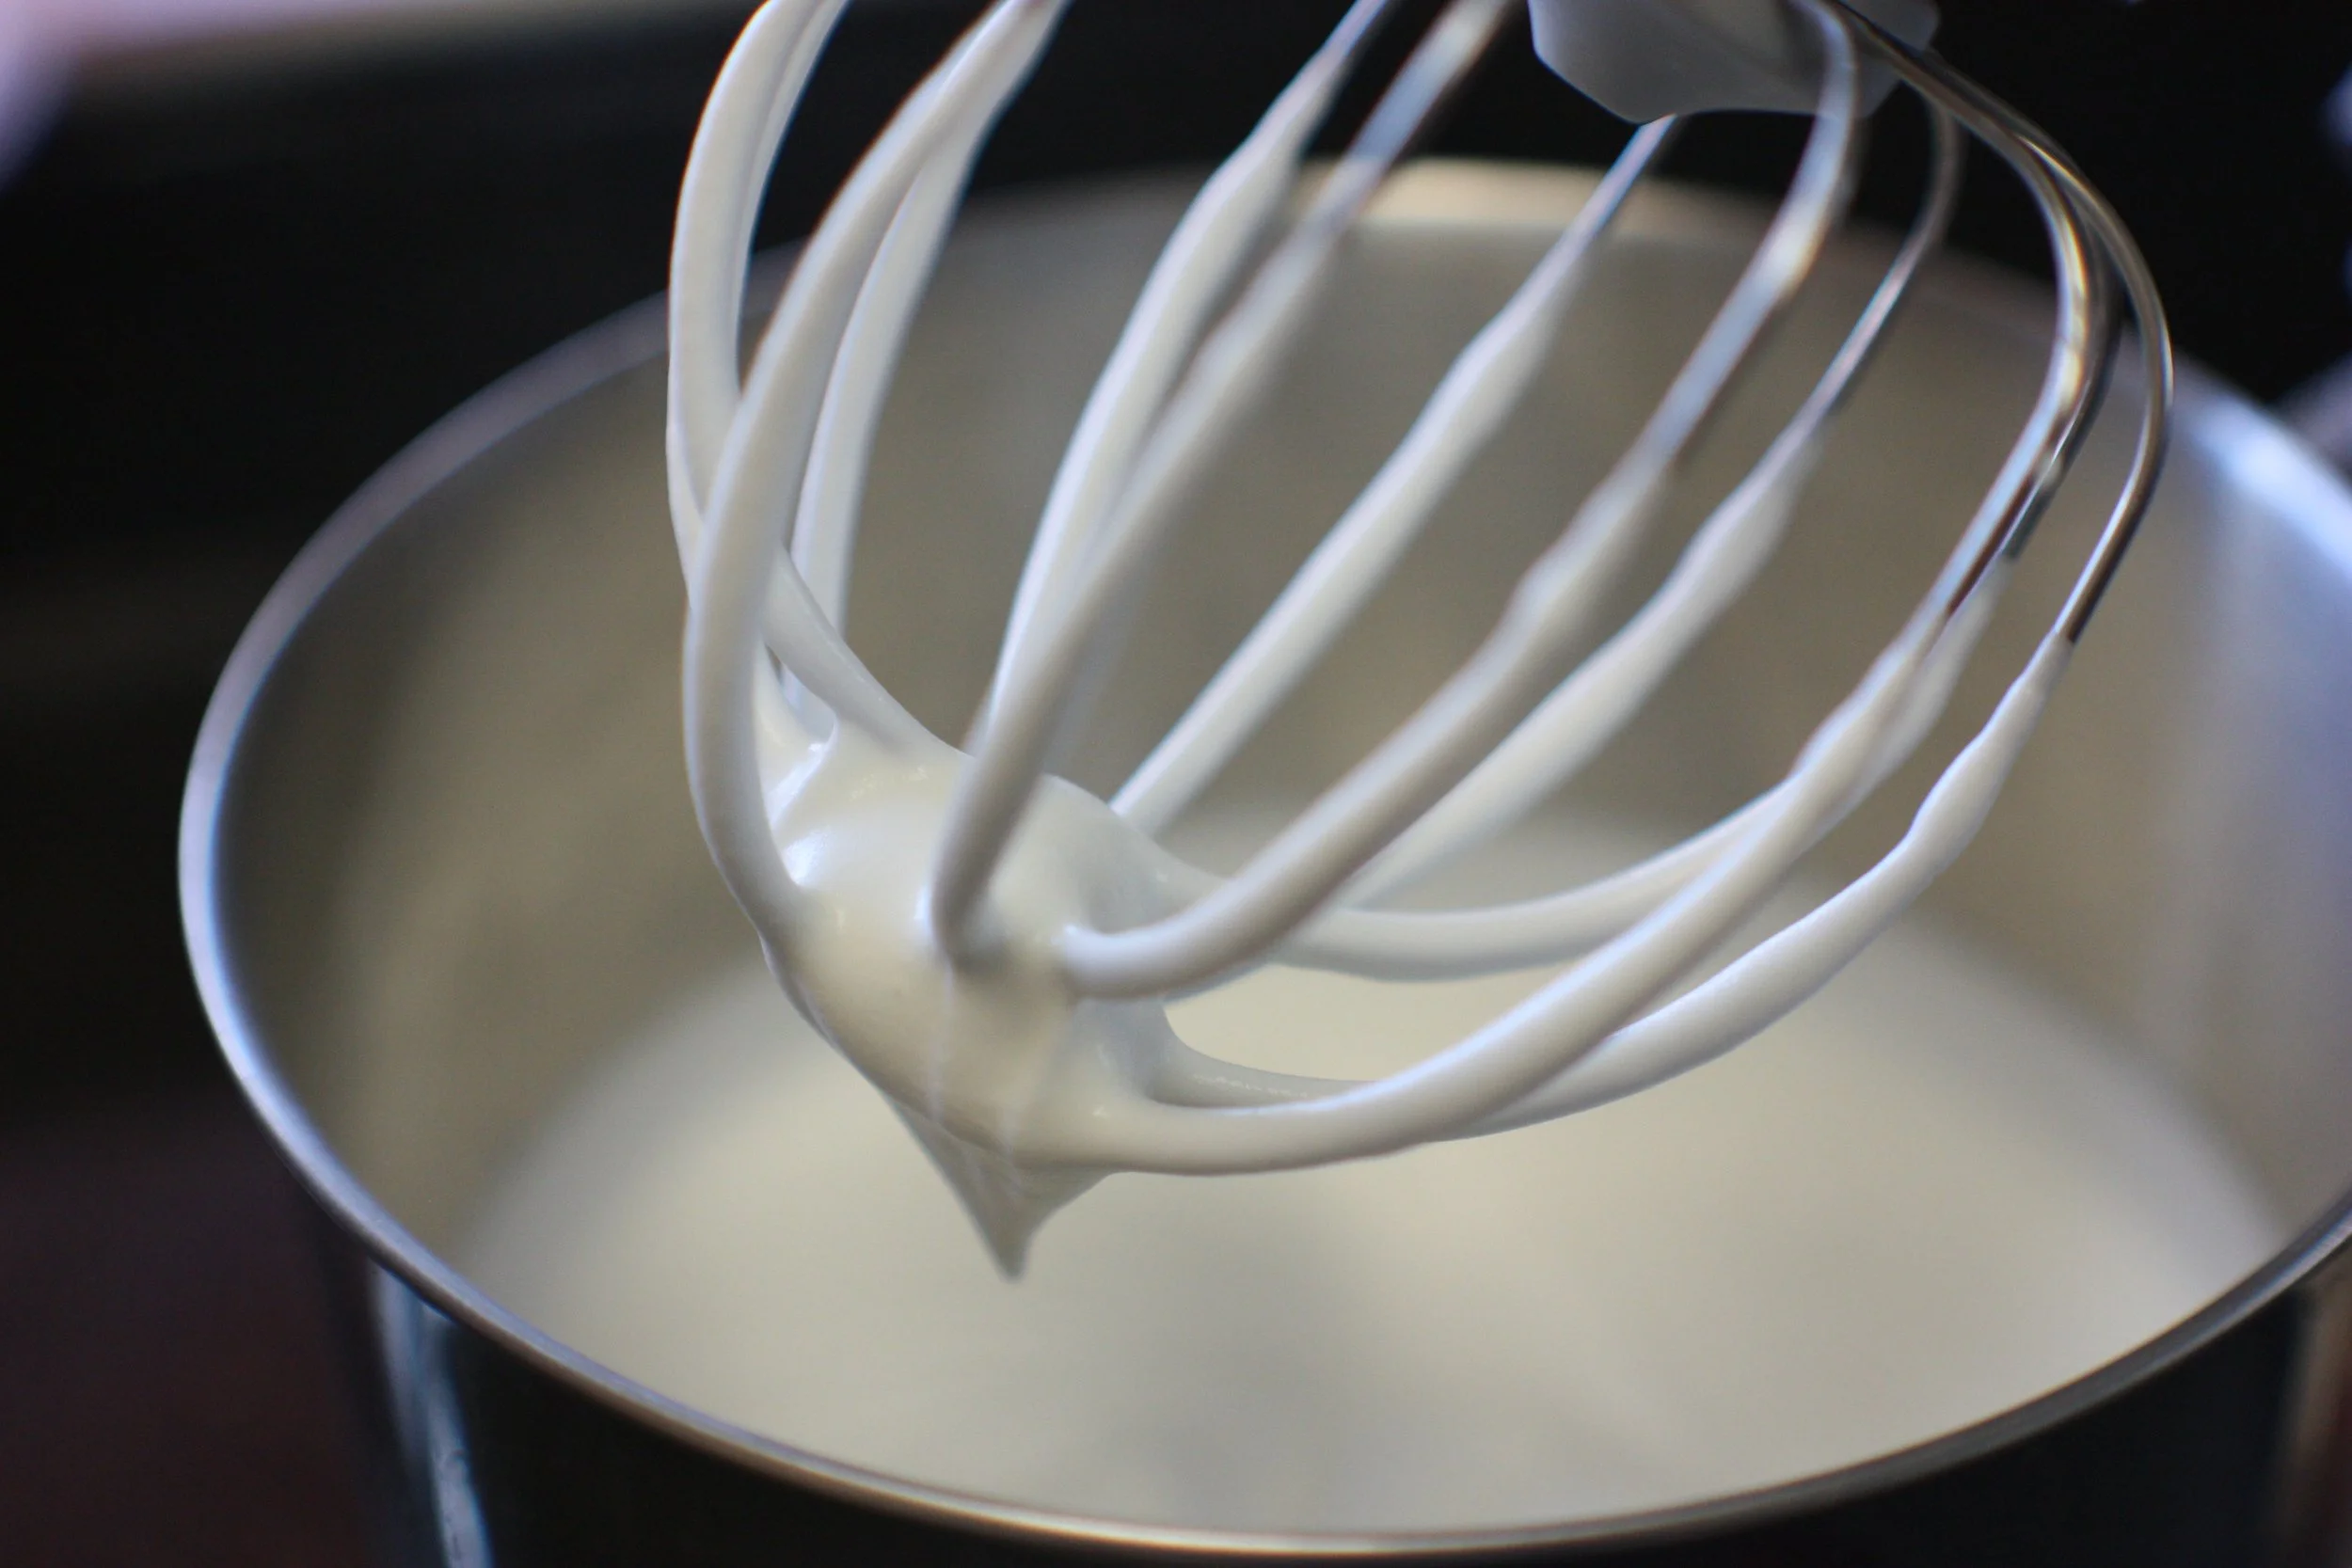
1. Using a stand mixer with the balloon whisk attachment in place, or a handheld mixer, pour two cups of chilled heavy whipping cream into your mixing bowl. Whip the cream to stiff peaks by placing the mixer on a medium speed. This will take about 5 minutes. You’ll know it’s ready when the peaks hold their shape. If you overmix, you’ll make butter— so pay close attention.
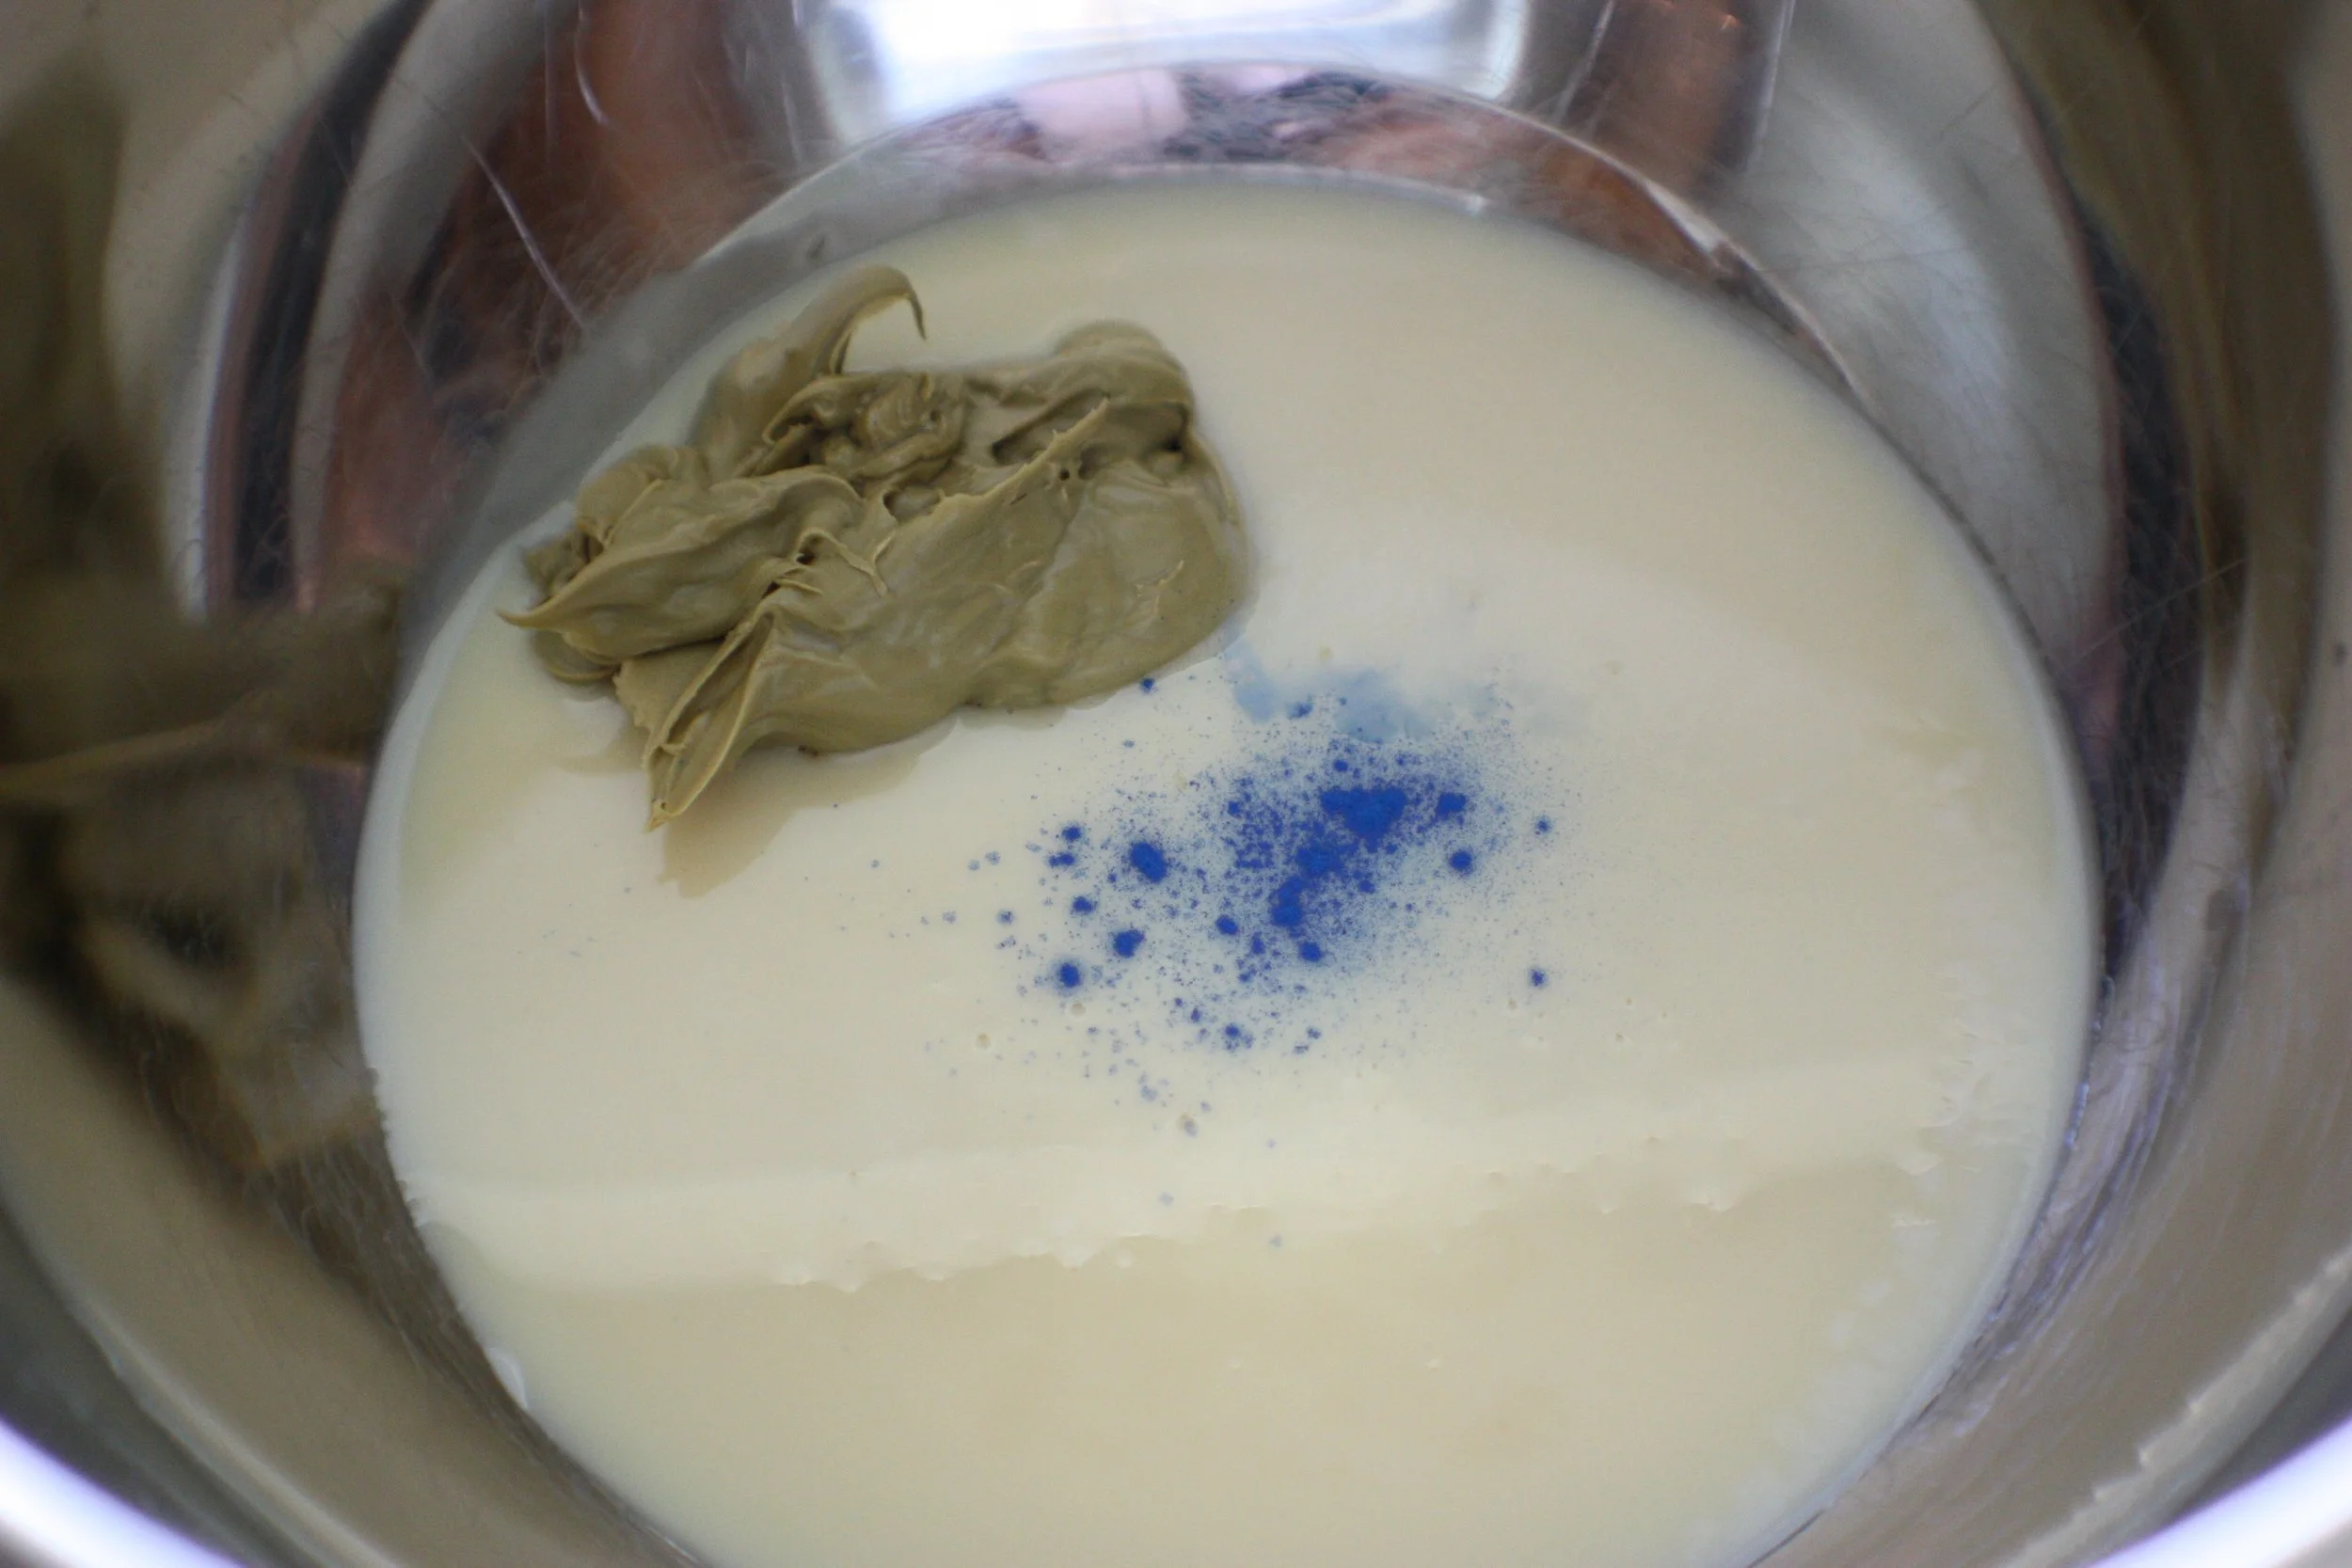
2. While your whipped cream is mixing, make your flavor mixture. Pour an entire can of sweetened condensed milk into a medium sized mixing bowl. Add ¼ cup of pistachio cream, ¼ teaspoon of blue spirulina, ⅛ teaspoon of turmeric, and ½ teaspoon of almond extract to the condensed milk. Use a handheld mixer, or a whisk, to thoroughly combine the ingredients. The mixture should be a pale olive green color. Feel free to experiment with different ratios of blue spirulina and turmeric but be mindful and taste as you go!
3. Pour the heavy whipping cream mixture into the flavor mixture. The flavor mixture is dense and will sink to the bottom of the bowl. Fold the whipped cream into the flavor mixture by taking a rubber spatula and scraping the bottom of the bowl and bringing it above the cream. Use a hand mixer to combine both mixtures.
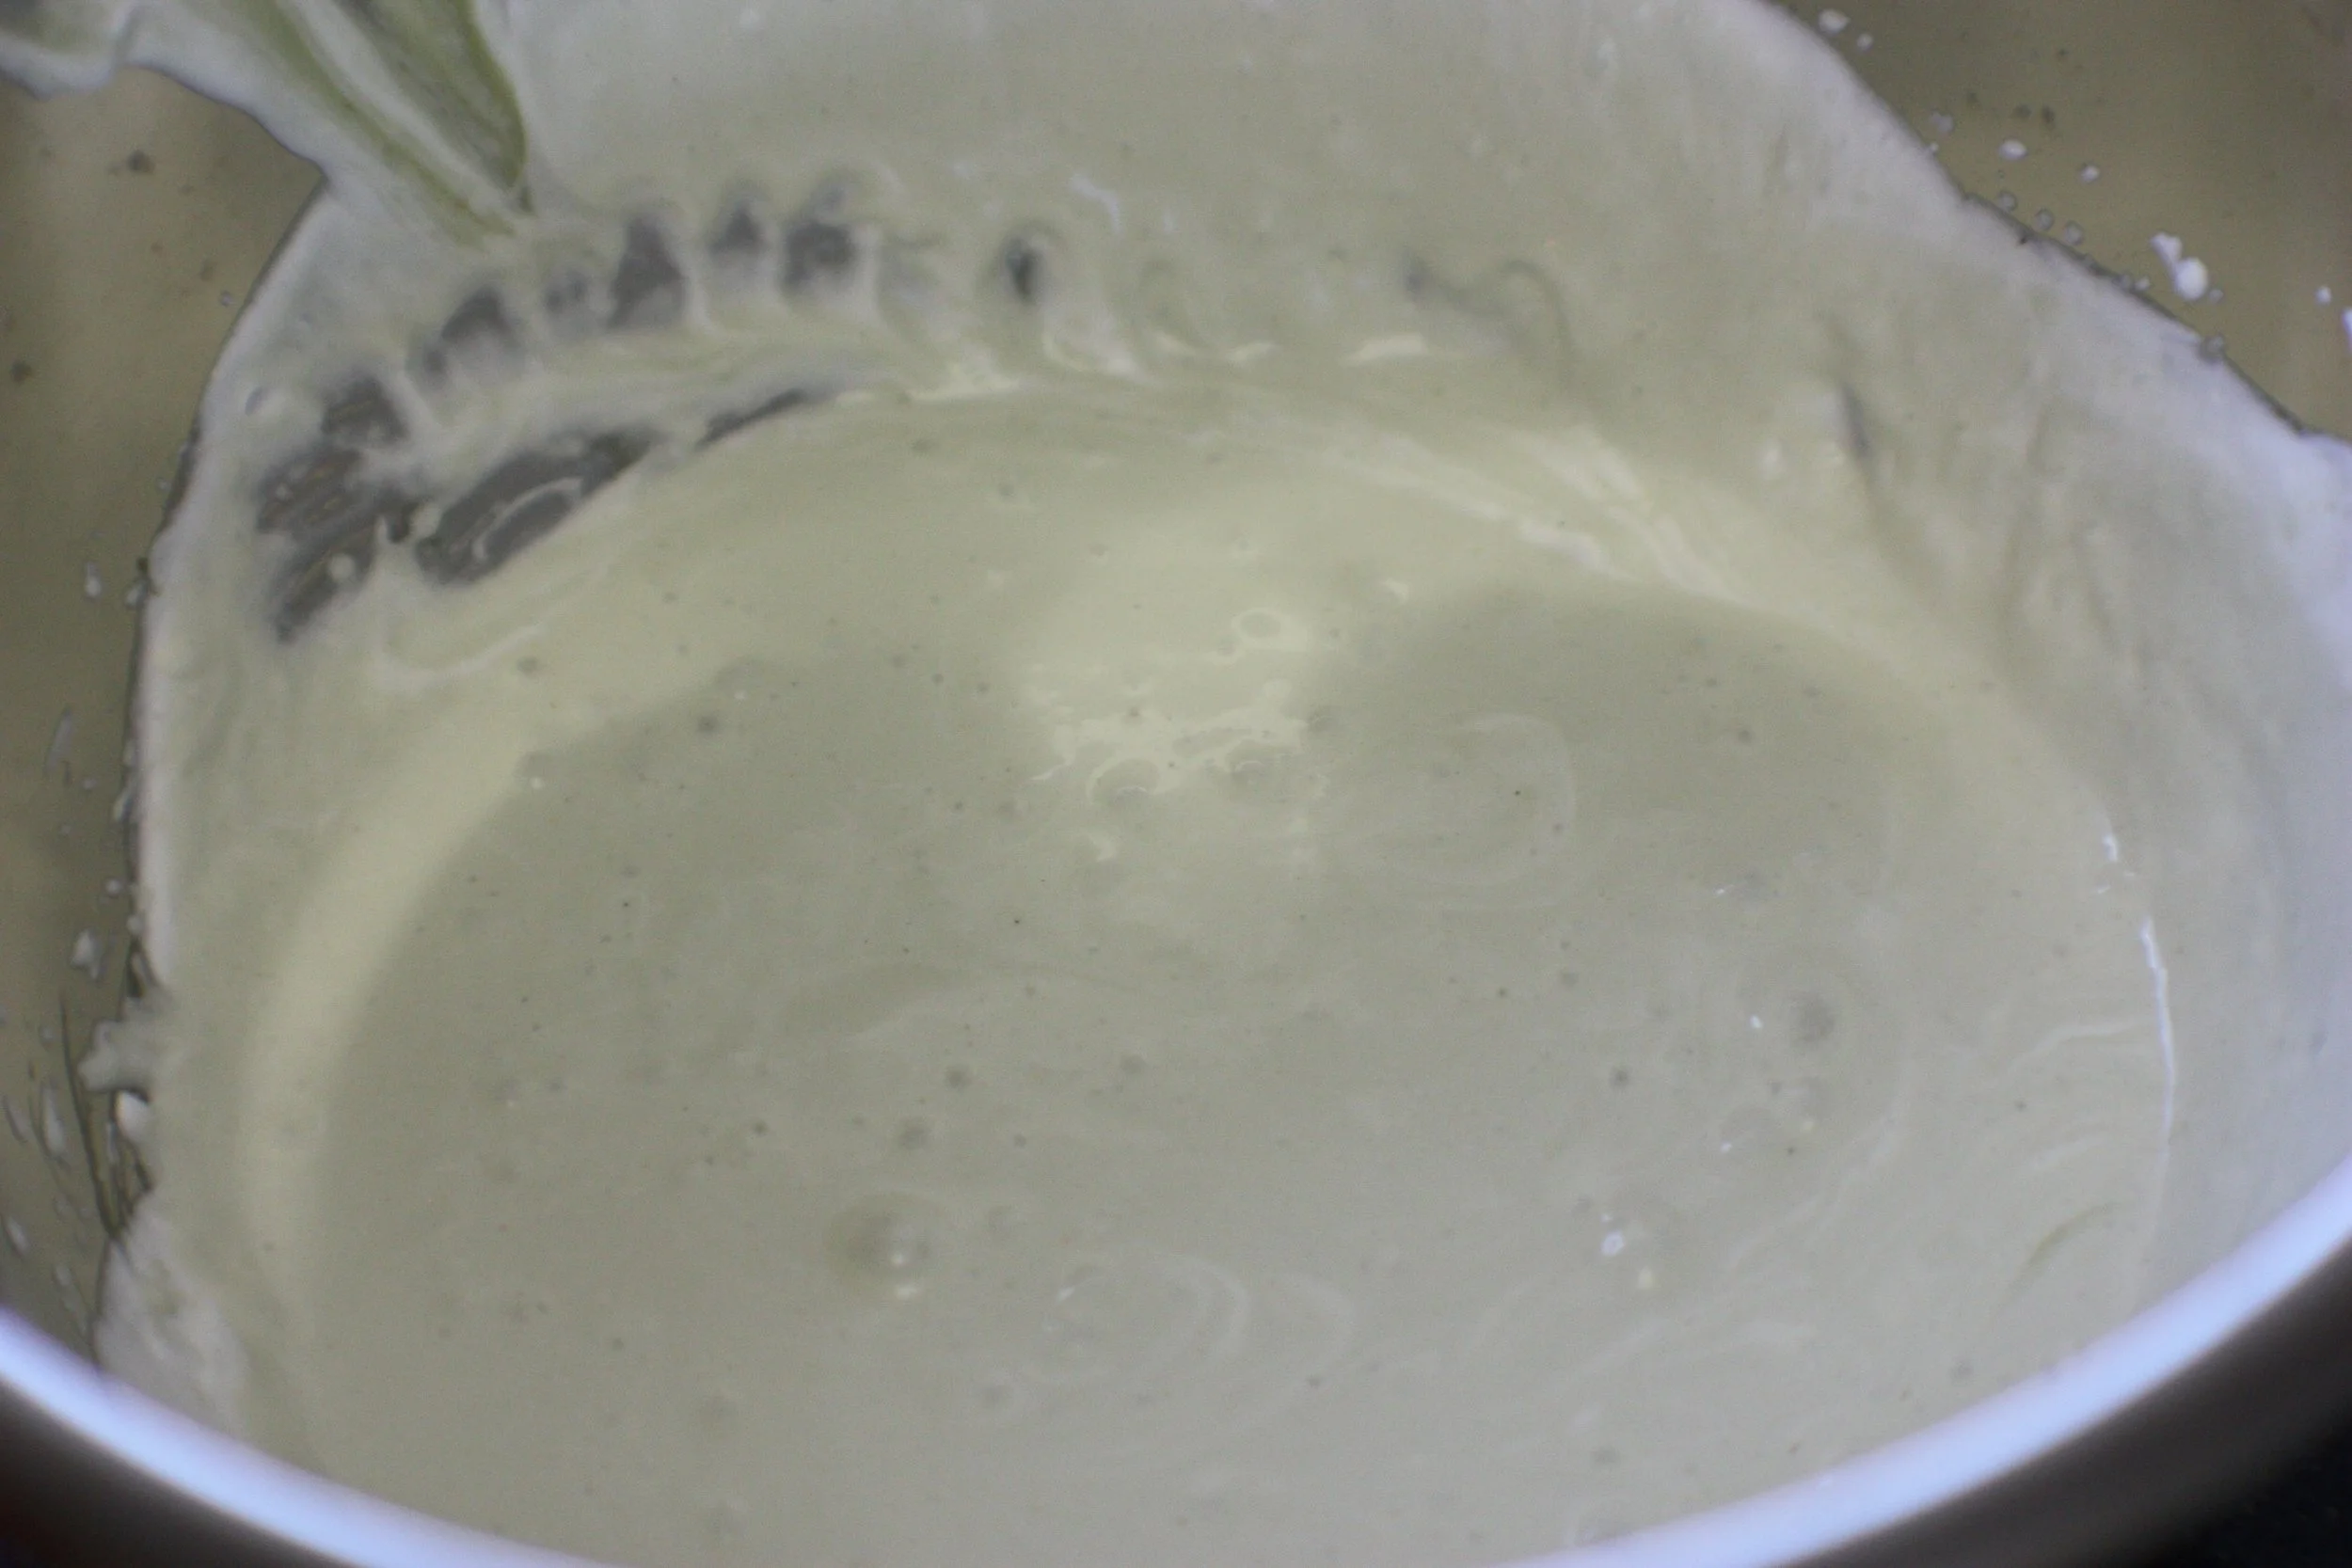
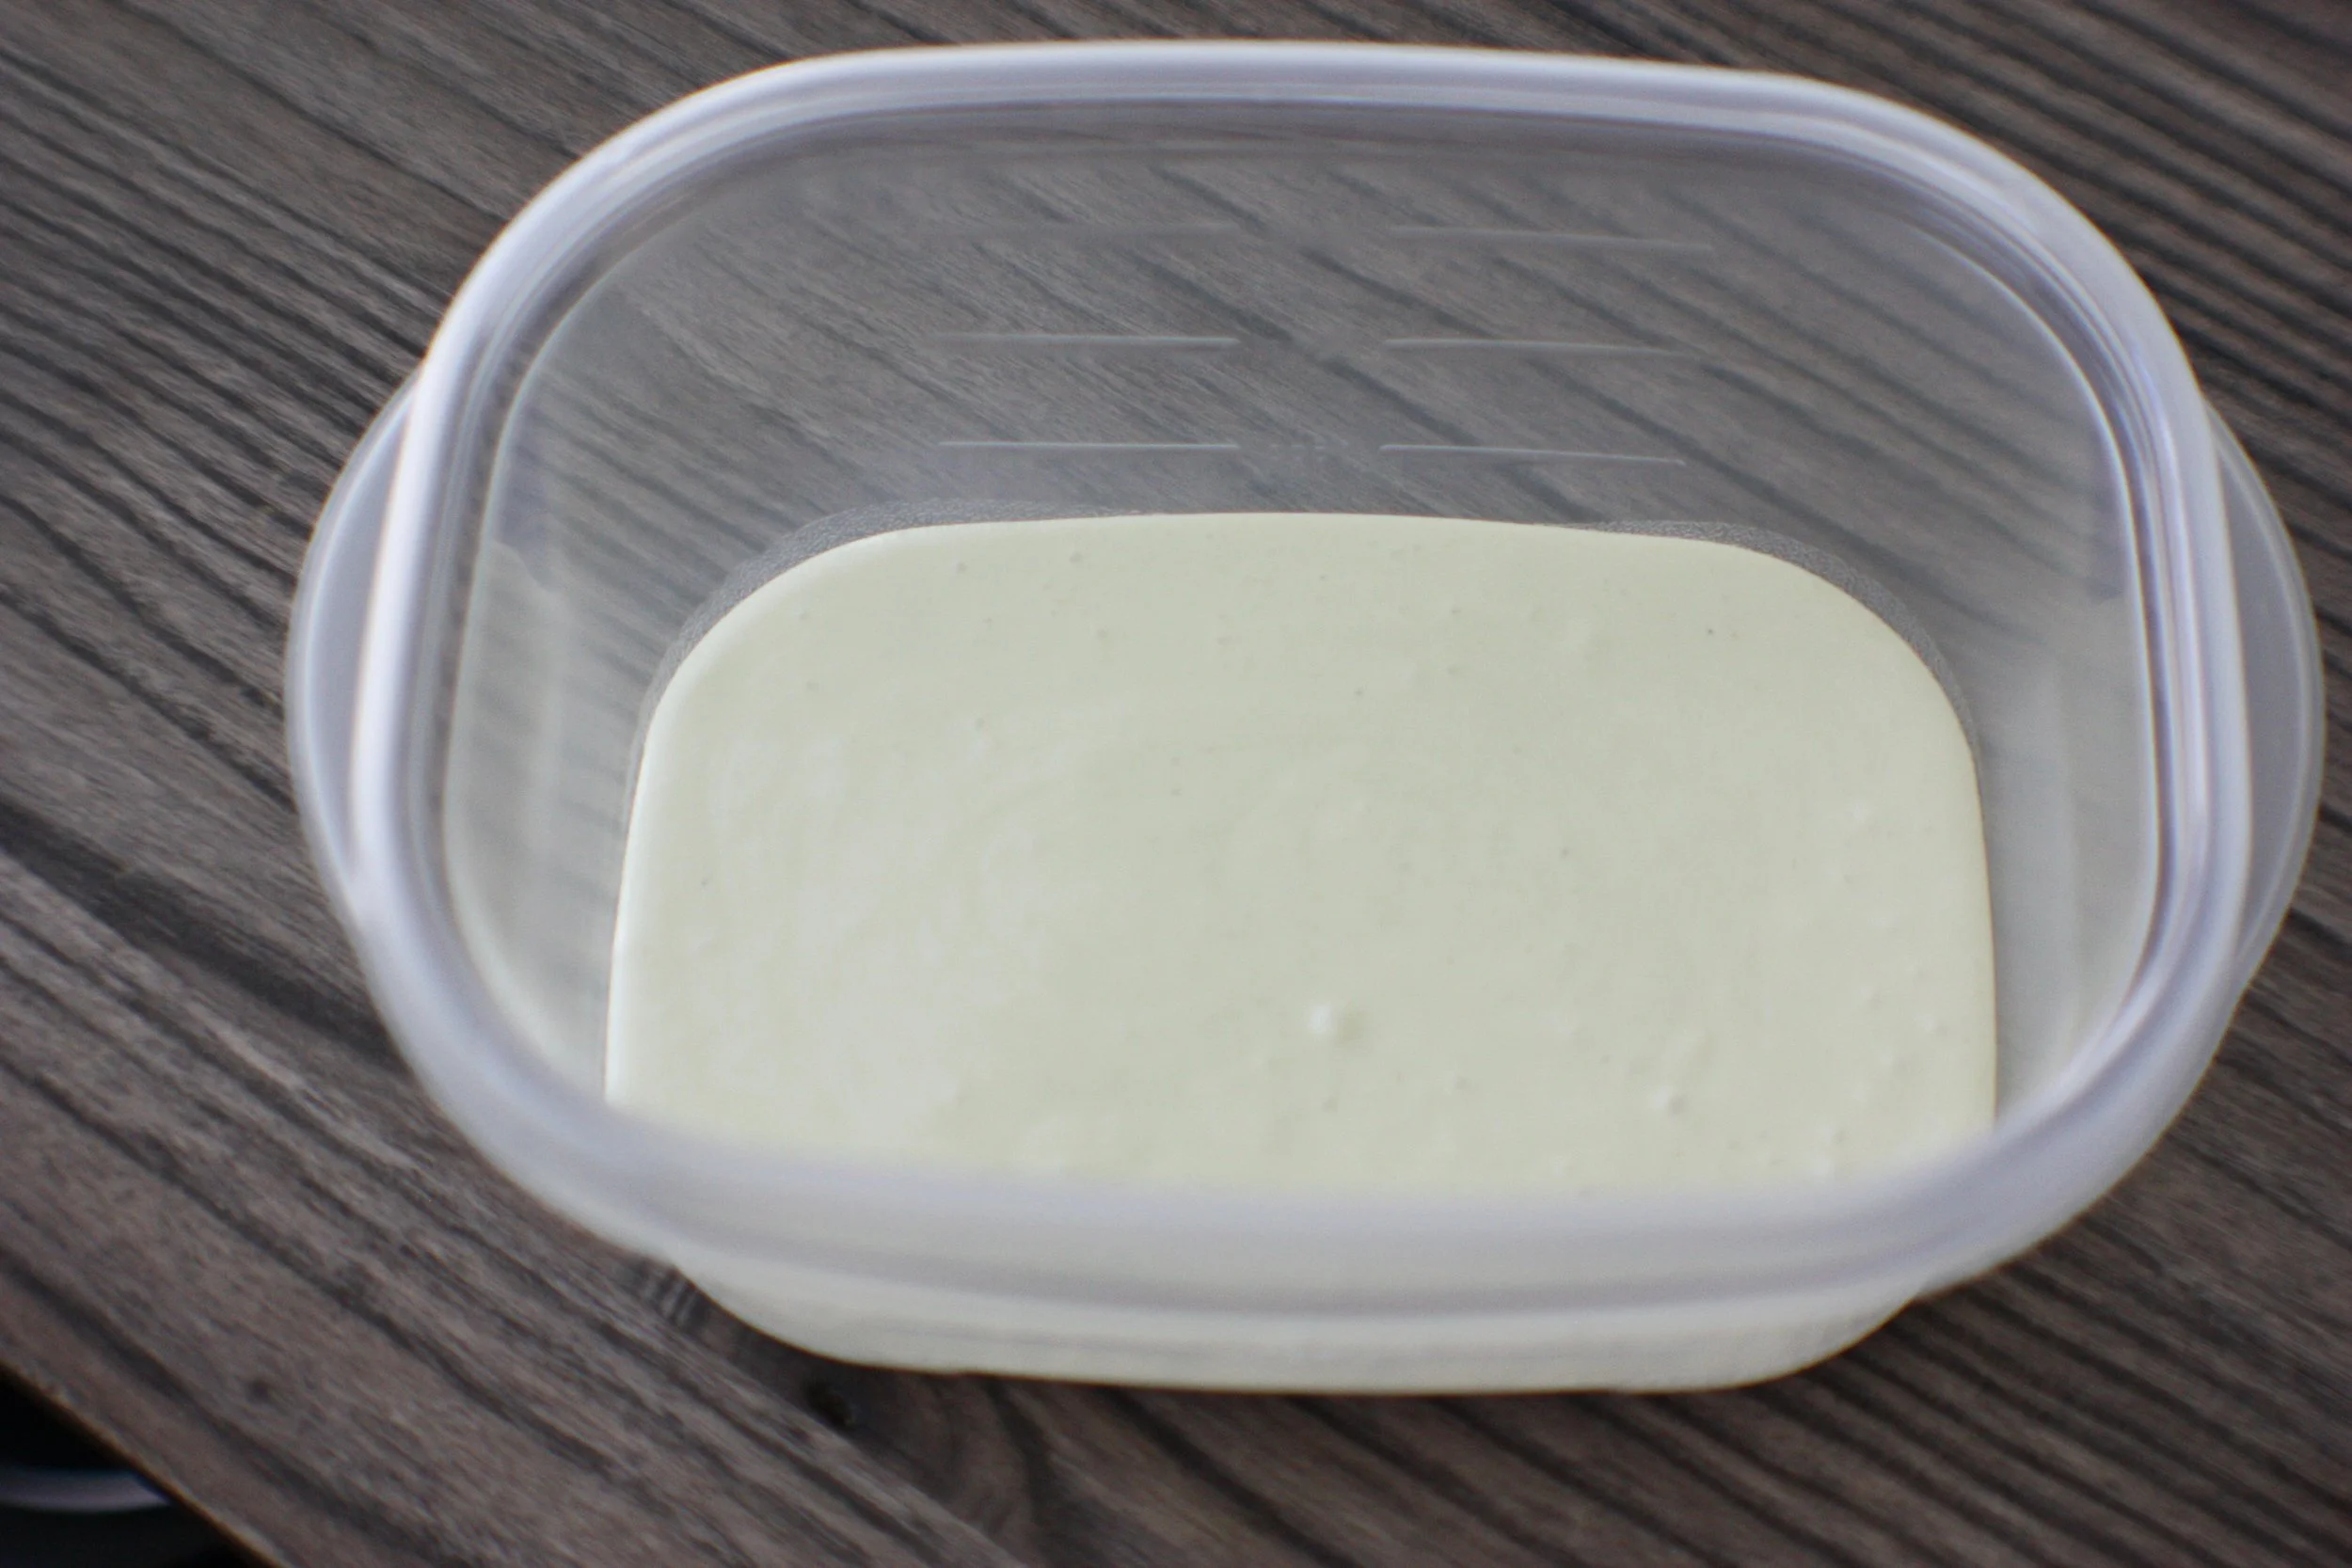
4. Pour a third of the ice cream mixture into a freezer safe container.
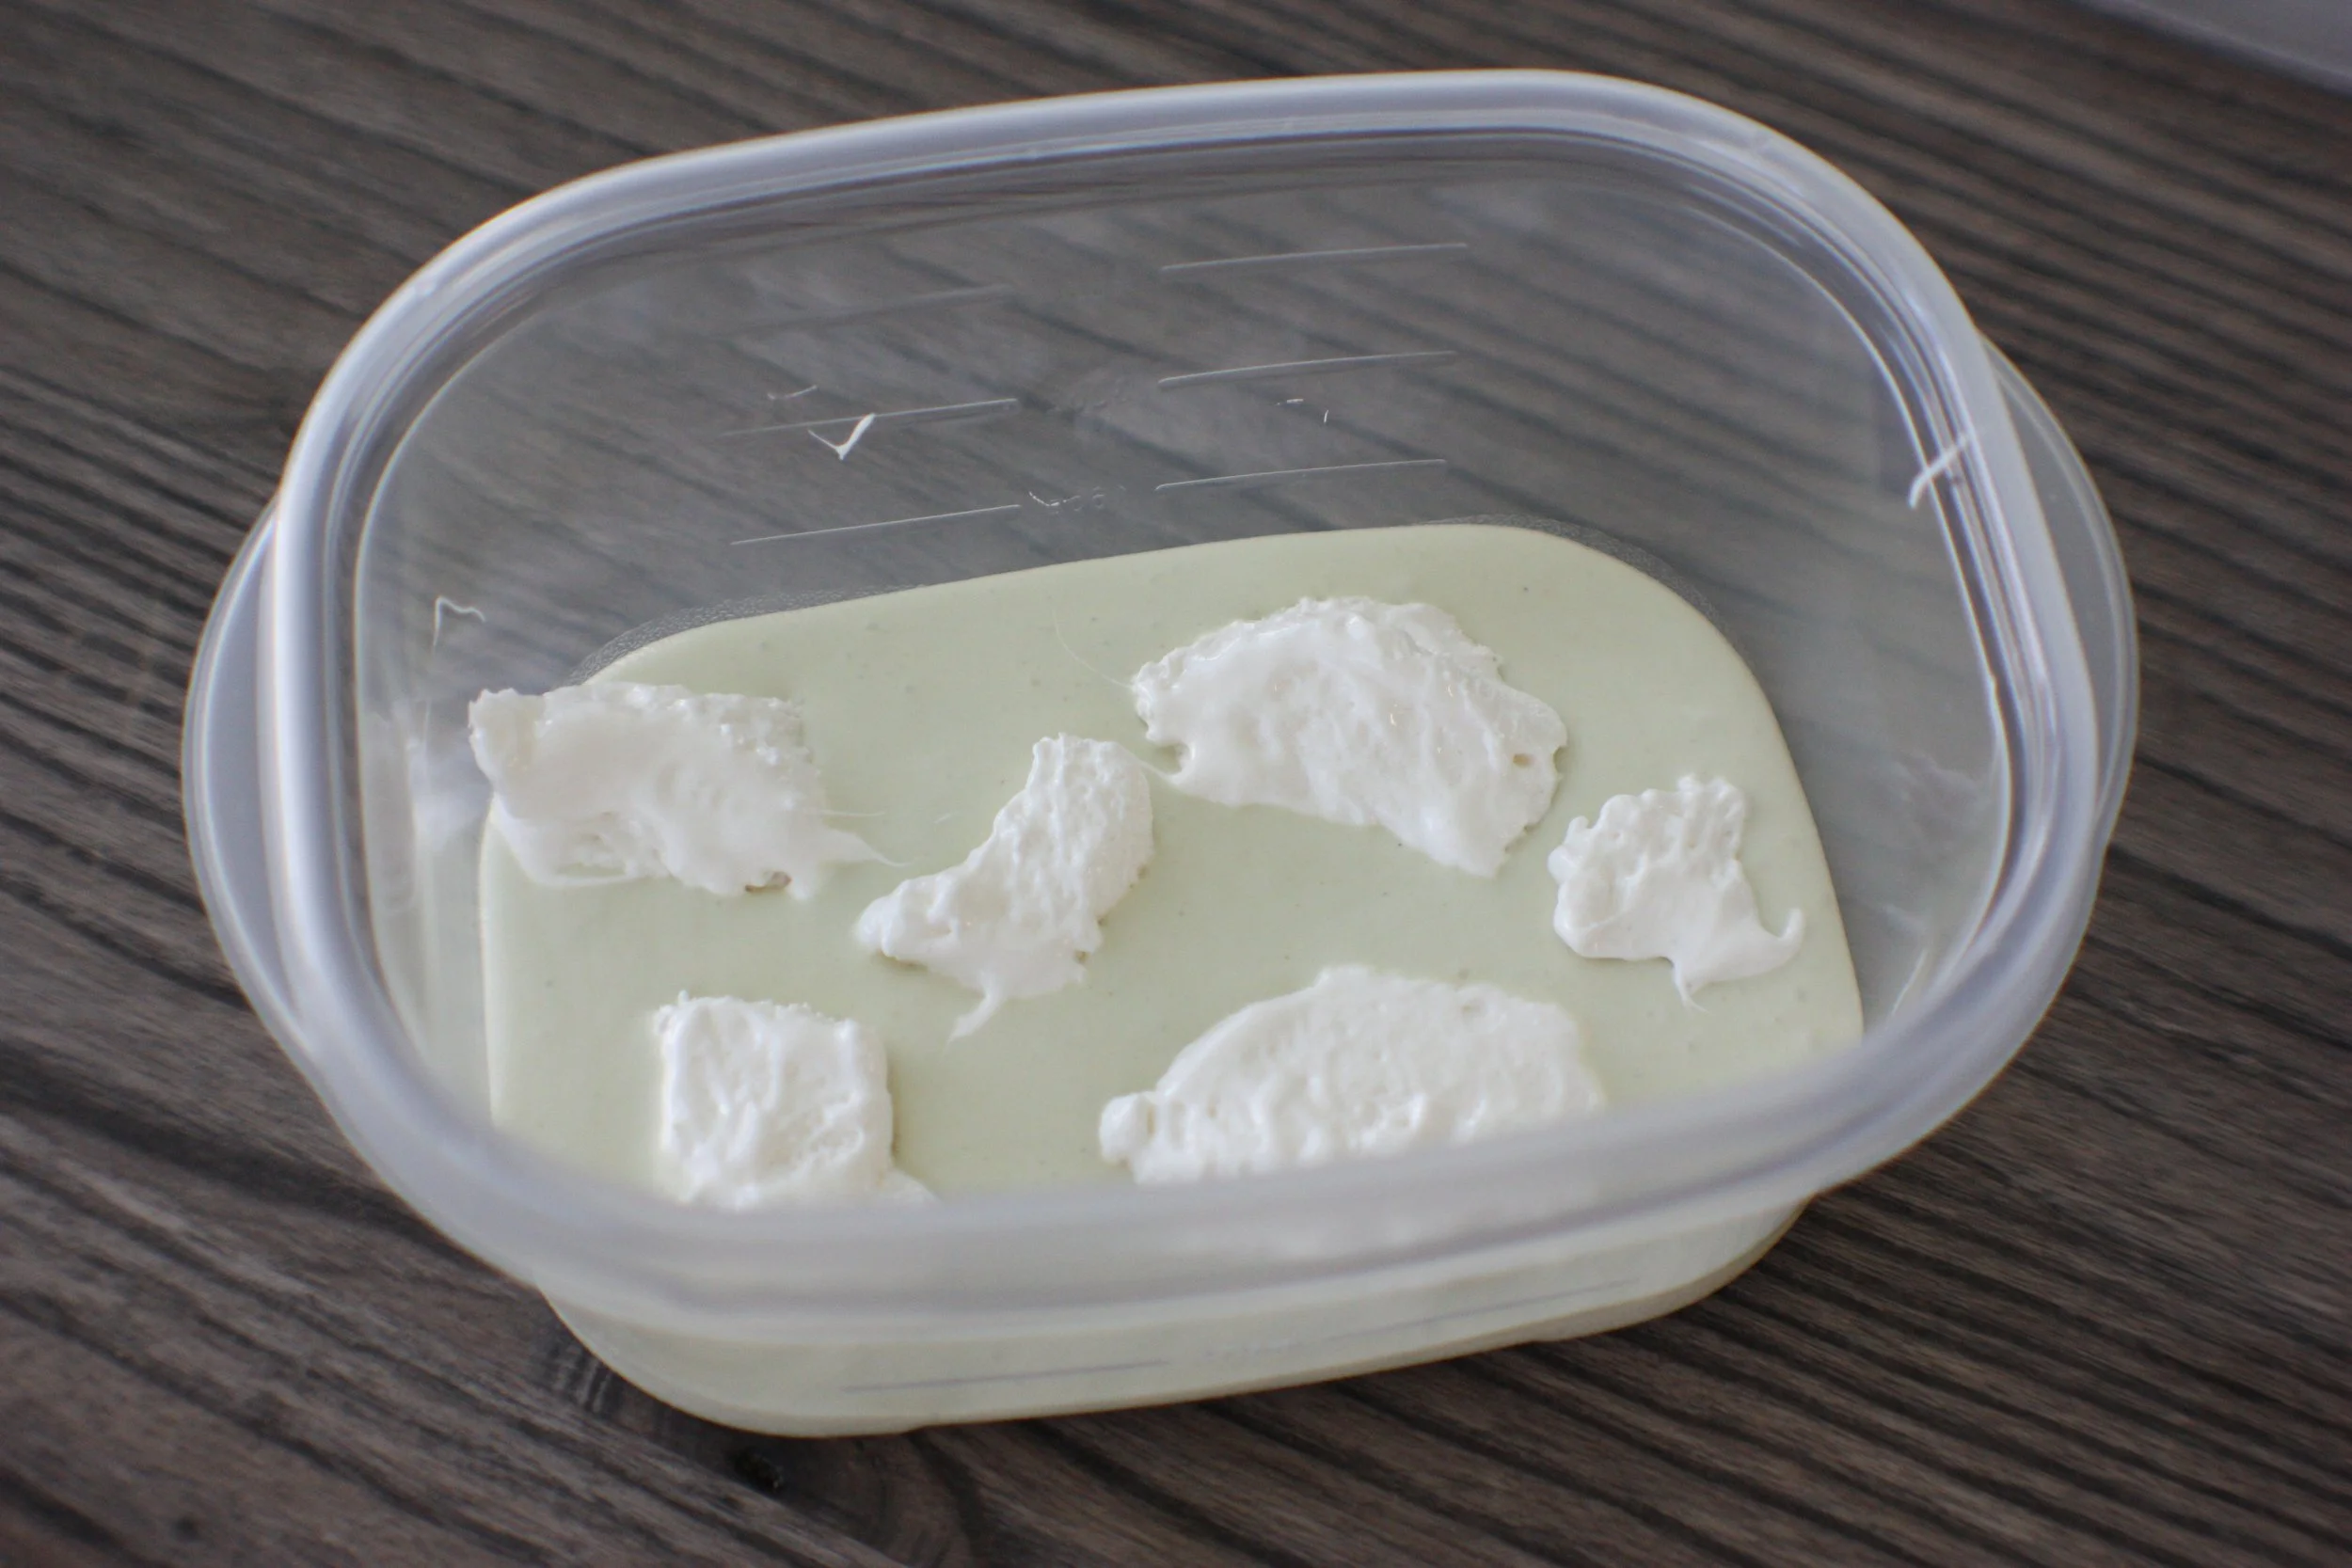
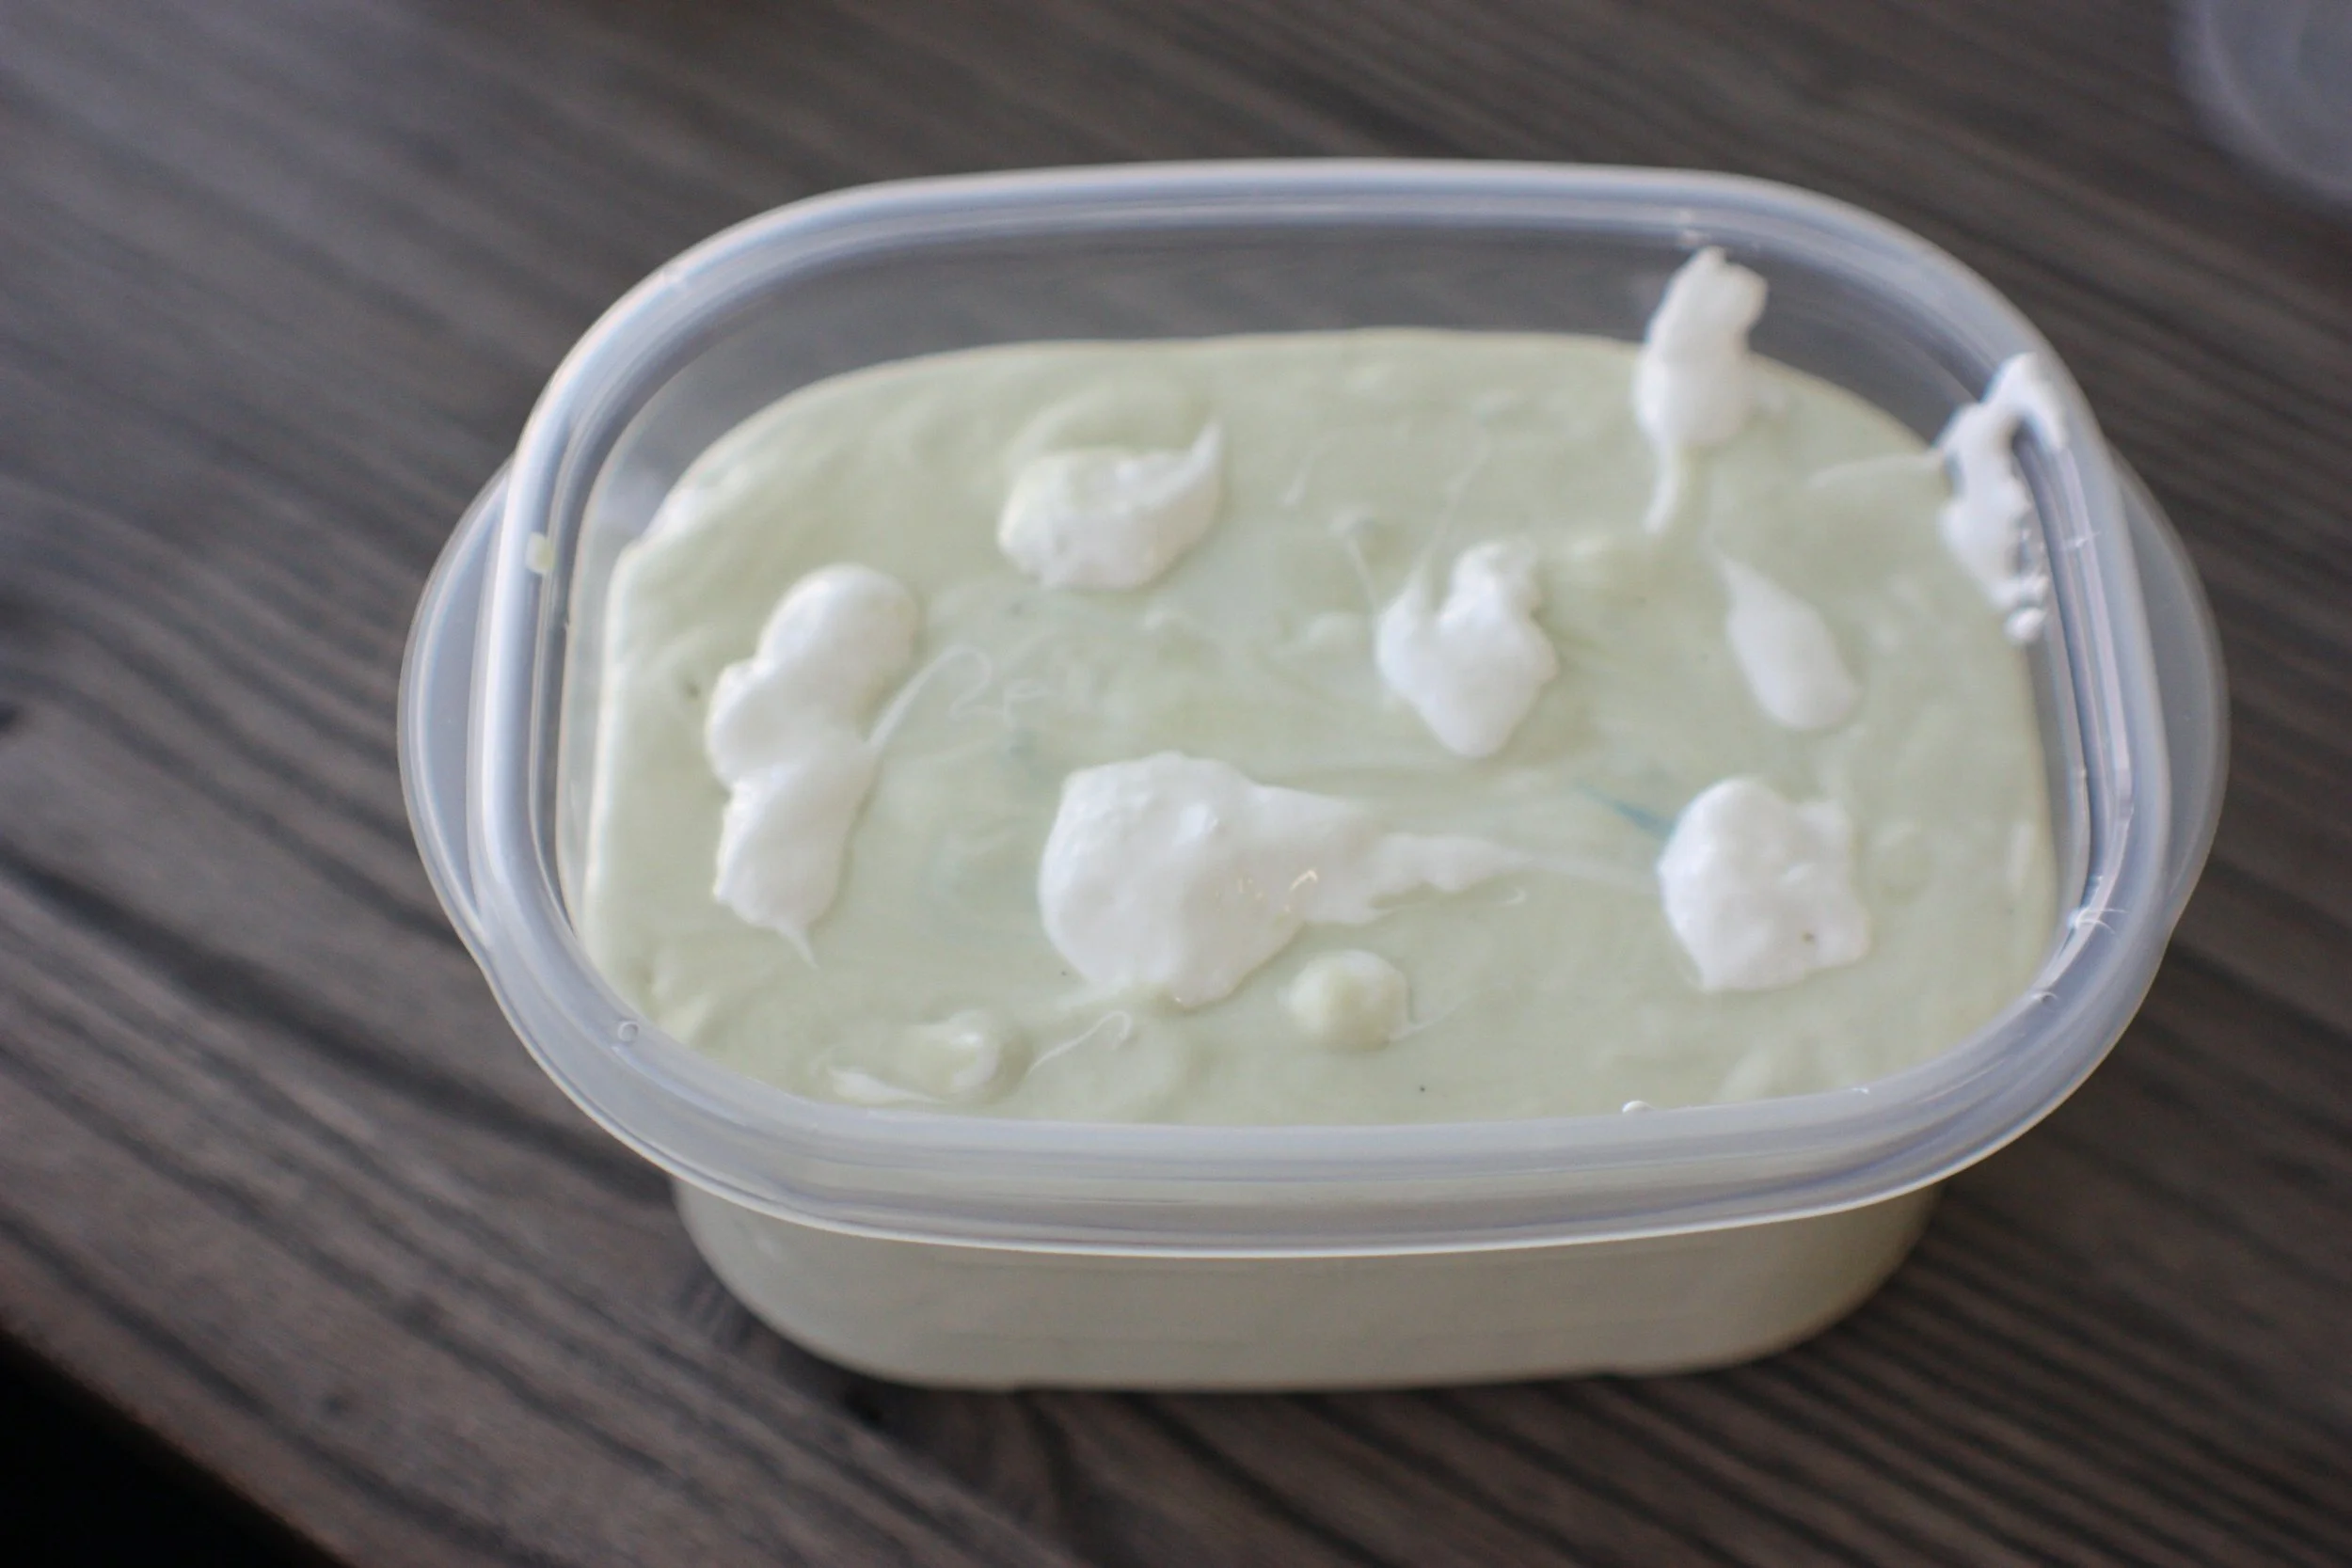
5. Spread ¼ cup of marshmallow cream on top of the ice cream mixture. Repeat steps 4 and 5 until you have three layers of ice cream, and two layers of marshmallow cream.
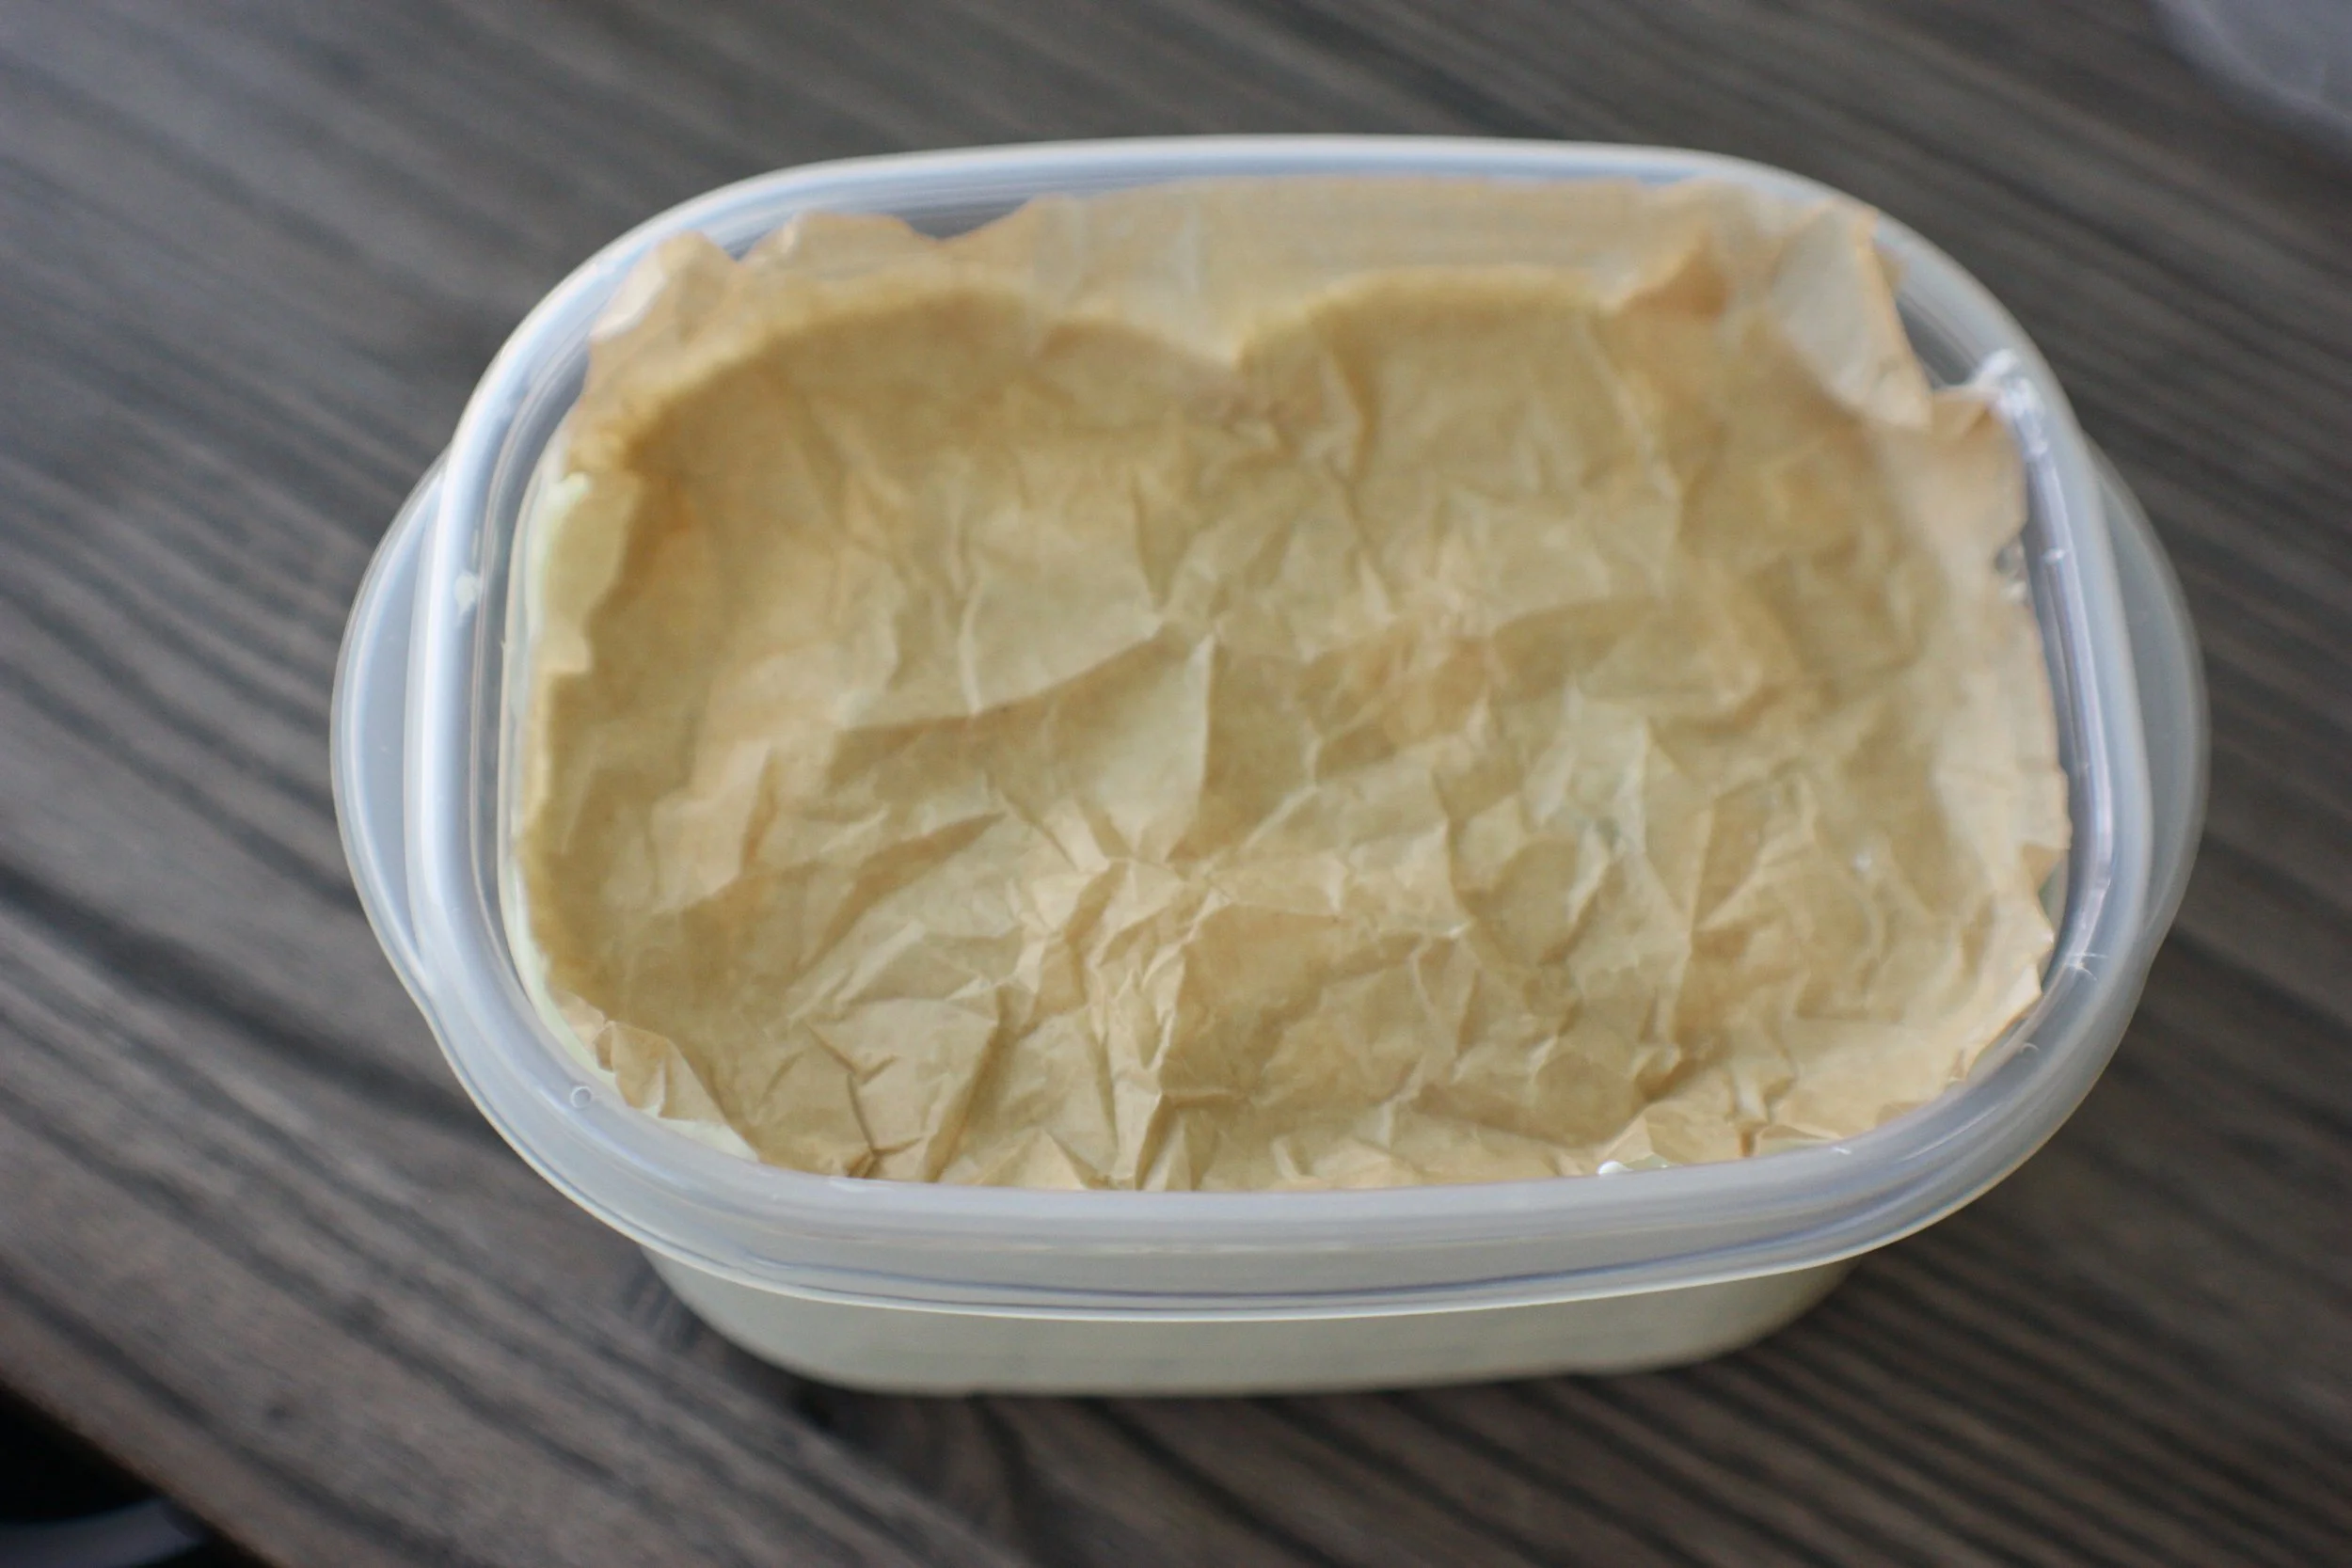
6. Place a sheet of parchment paper directly on top of the ice cream before putting the lid on it. This will prevent ice crystals from forming, keeping the ice cream fresher longer! Freeze ice cream for 4 hours, or until firm, before serving.
Modifications
Substitute the marshmallow cream for mini marshmallows.
FAQ
“How do I prevent the ice cream from freezing so hard?”
Try mixing a tablespoon of vodka in with the sweetened condensed milk. Alcohol doesn’t freeze, so it will ensure your ice cream isn’t frozen solid.
“How many servings does this make?”
This will make about 6-8 servings; the recipe yields a little less than half a gallon.
“How long does this last in the freezer?”
The ice cream will stay fresh for up to a month without the flavors being disrupted.