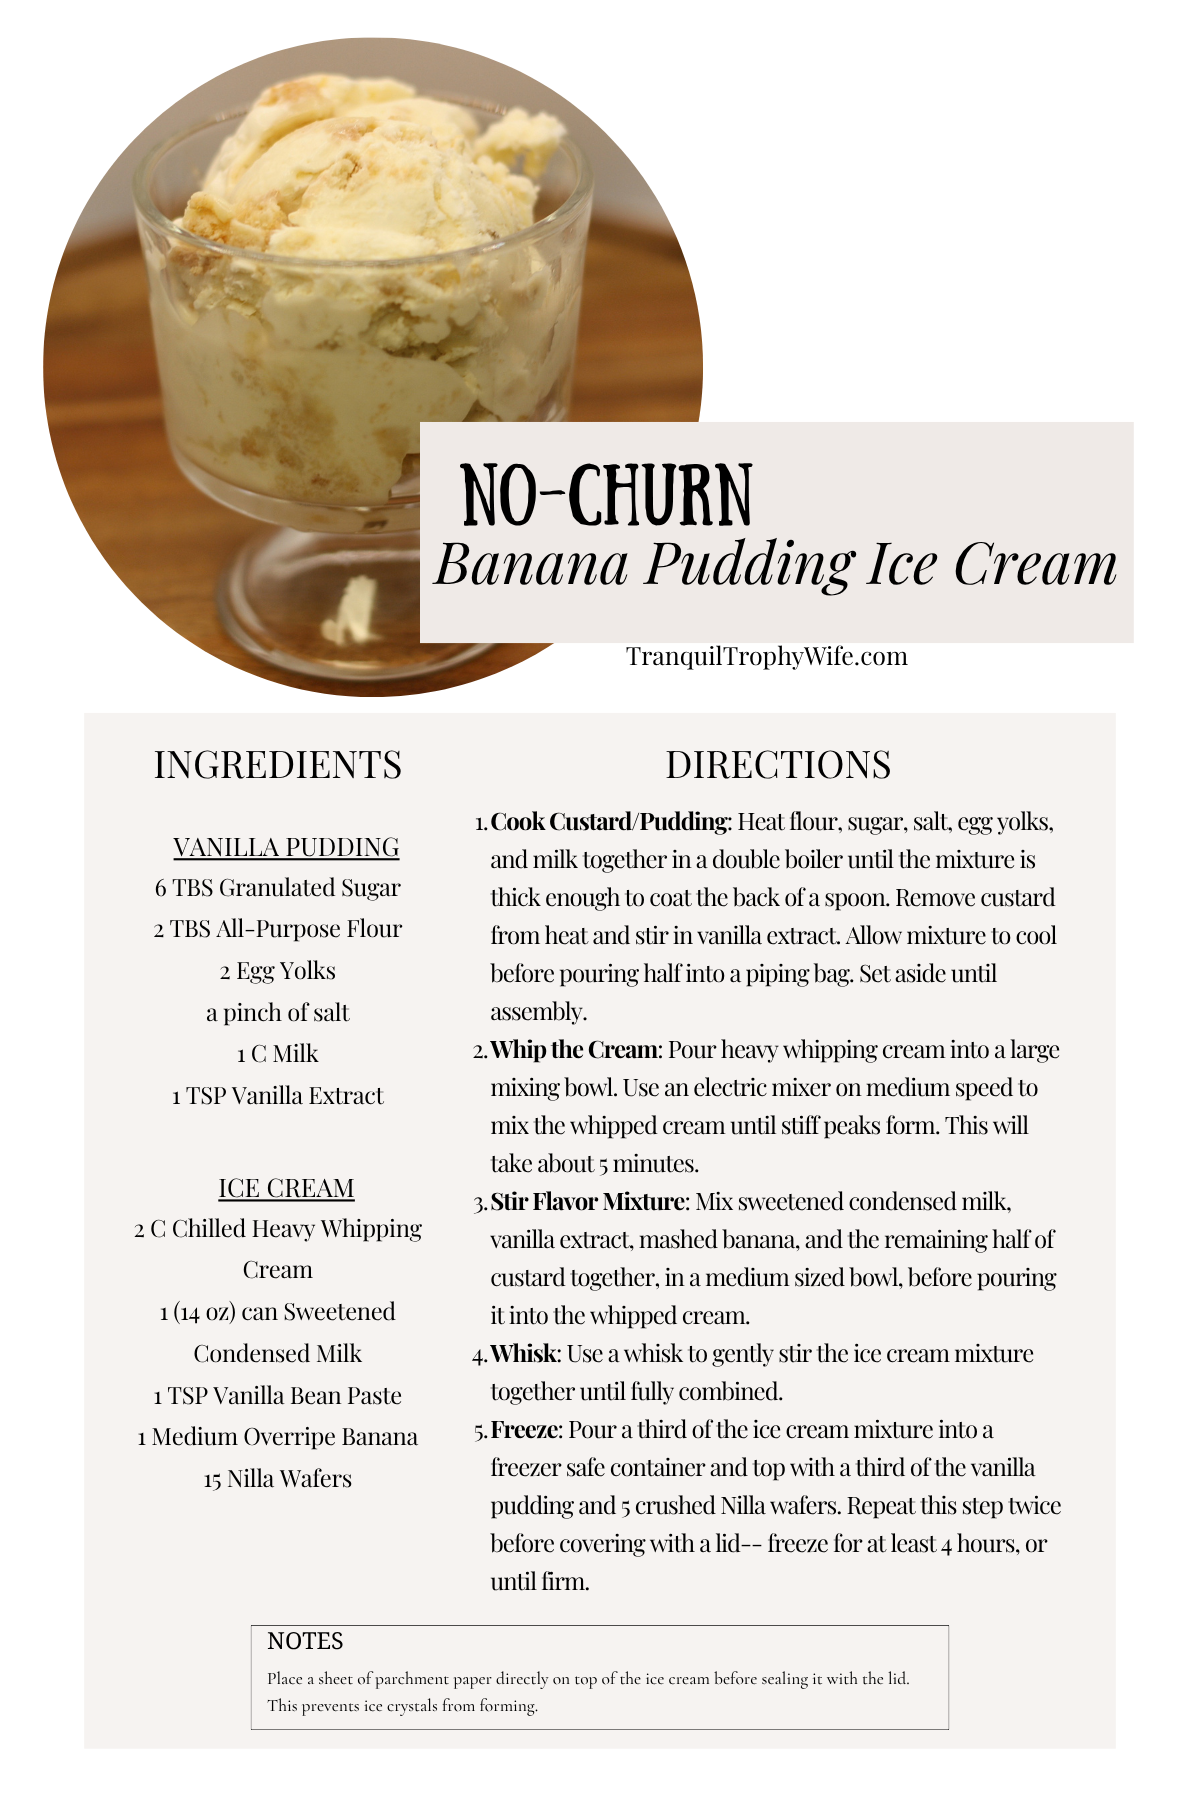
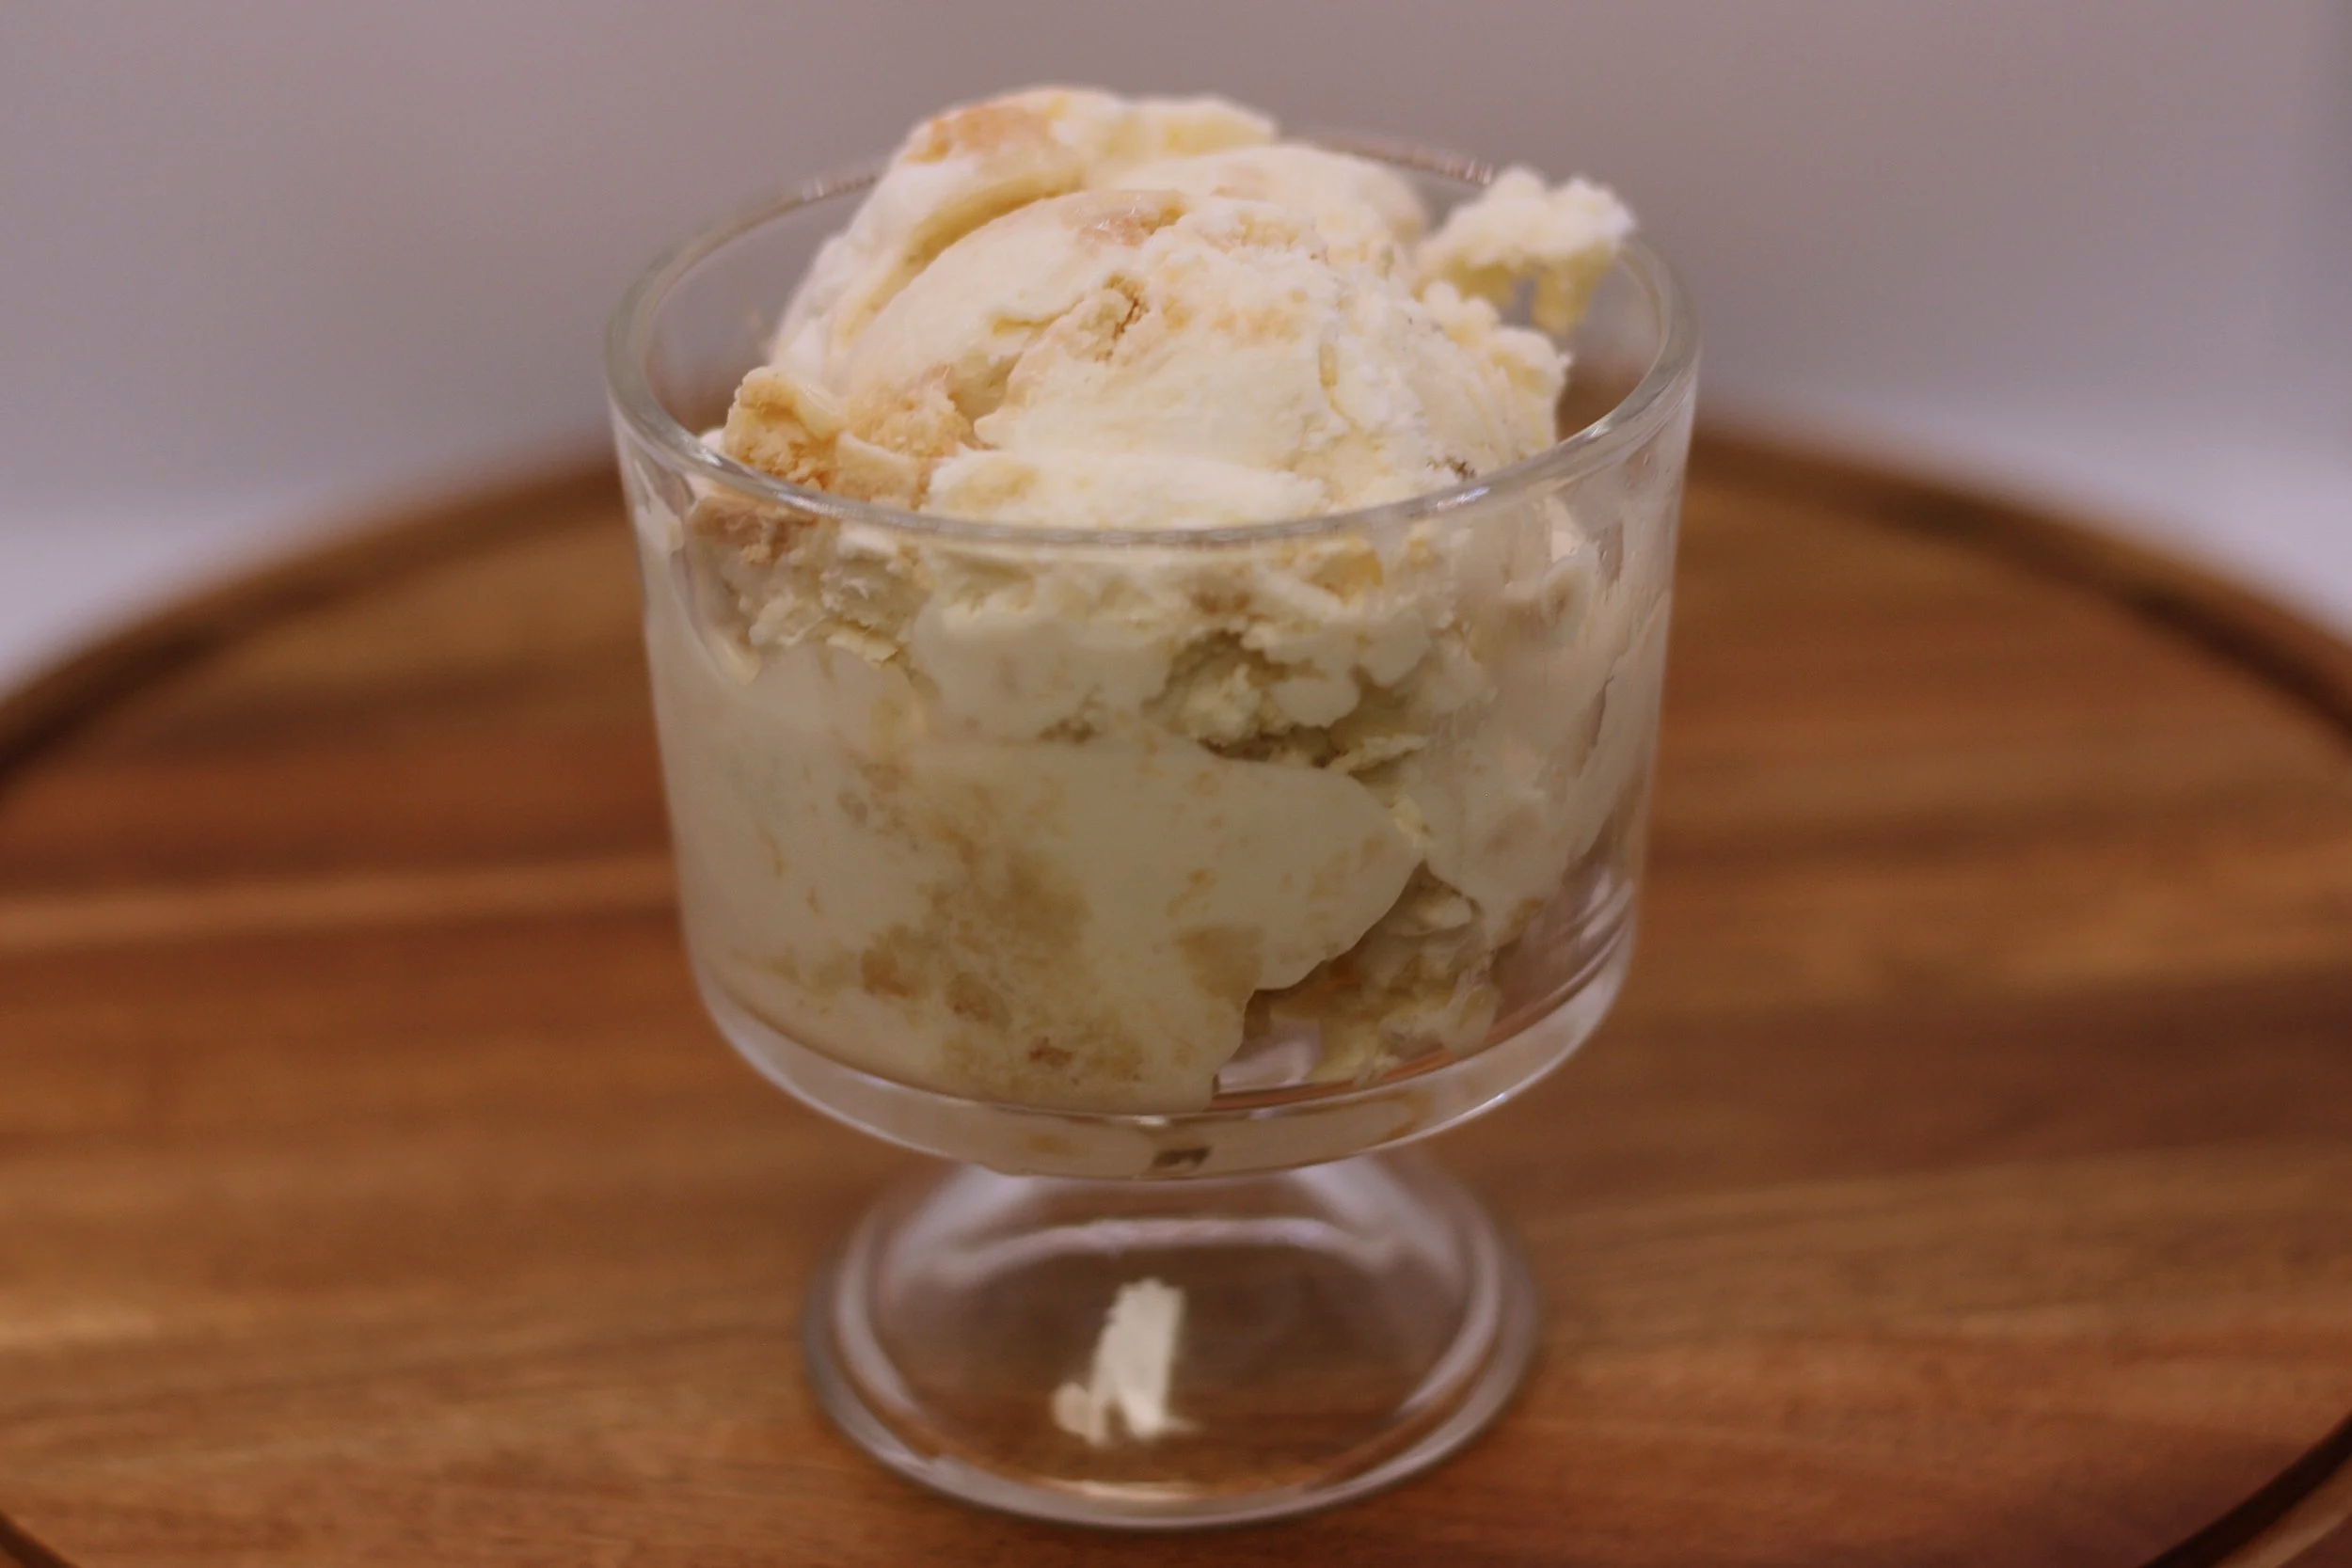
No-Churn Banana Pudding Ice Cream
“I said this ice cream is bananas! B-A-N-A-N-A-S!” Or whatever Gwen Stefani said.
The recipes and baking tips shared on Tranquil Trophy Wife are based on my personal experience, research, and kitchen testing. Results may vary depending on ingredients, equipment, technique, altitude, humidity, and individual skill level.
My goal is to make baking approachable, enjoyable, and a little less intimidating. Every baker starts somewhere, and perfection is never required. Happy baking!
Banana Pudding was probably the very first thing I learned how to cook. Yes, I said cook. Because real, southern banana pudding does need to be cooked. My grandma taught me at a young age that the Original Nilla Wafer Banana Pudding was the superior choice, and she’s not wrong. So, I’ve continued to follow in her footsteps by only using this recipe 25 years later.
I’ve really been on an ice cream kick lately. Not only is it extremely hot and dry in Texas, but I’m also reliving my glory days as a Ben & Jerry’s ice cream scooper. Nostalgia always wins around here. As an aspiring full-time food blogger, I’ve decided to use bananas as my accountability partner. Every week I buy bananas. Even if I bake absolutely nothing all week, my bananas are my reminder to lock in and create something new in the kitchen. So far, I’ve made a delicious vanilla bean banana upside down cake and tested three different variations of sourdough banana bread. One of those banana bread recipes uses homemade banana pudding in between layers of batter, which was so iconic, I knew I needed to make it into an ice cream.
A double boiler uses indirect steam heat to gently thicken this creamy vanilla custard. That sweet pudding serves as the primary base flavor for our ice cream. Nilla Wafers give a soft, cake-like swirl because we value indulgence! Serve this with my salted caramel sauce, you won’t regret it. This No-Churn Banana Pudding is the epitome of frozen southern goodness.
So, whenever you have spotted, overripe, bananas sitting on your counter, remember this recipe!
Key Ingredients
Heavy Whipping Cream— This is the base for this ice cream. Once whipped, the cream provides a fluffy and creamy element to the ice cream, which is the reason a machine isn’t needed.
Sweetened Condensed Milk— Condensed milk replaces the traditional custard mixture typically found in ice cream. Because the condensed milk has very little water and a high sugar content, it prevents the ice cream from freezing into a solid block.
All-Purpose Flour— Flour is used as a thickening agent for the custard.
Suggested Equipment
Double Boiler— This allows the custard to cook slowly without getting scorched. Instead of using direct heat, we use the heat from the steam to thicken our custard.
Stand Mixer— Using a stand mixer allows you to prepare the flavor mixture while the whipped cream is being whipped.
Rubber Spatula— A rubber spatula will ensure you get every bit of flavor from the bowl.
Tips
Chill stand mixer bowl in the freezer for at least 20 minutes before use. This will ensure the heavy whipping cream mixture remains as cold as possible during the mixing process.
Directions
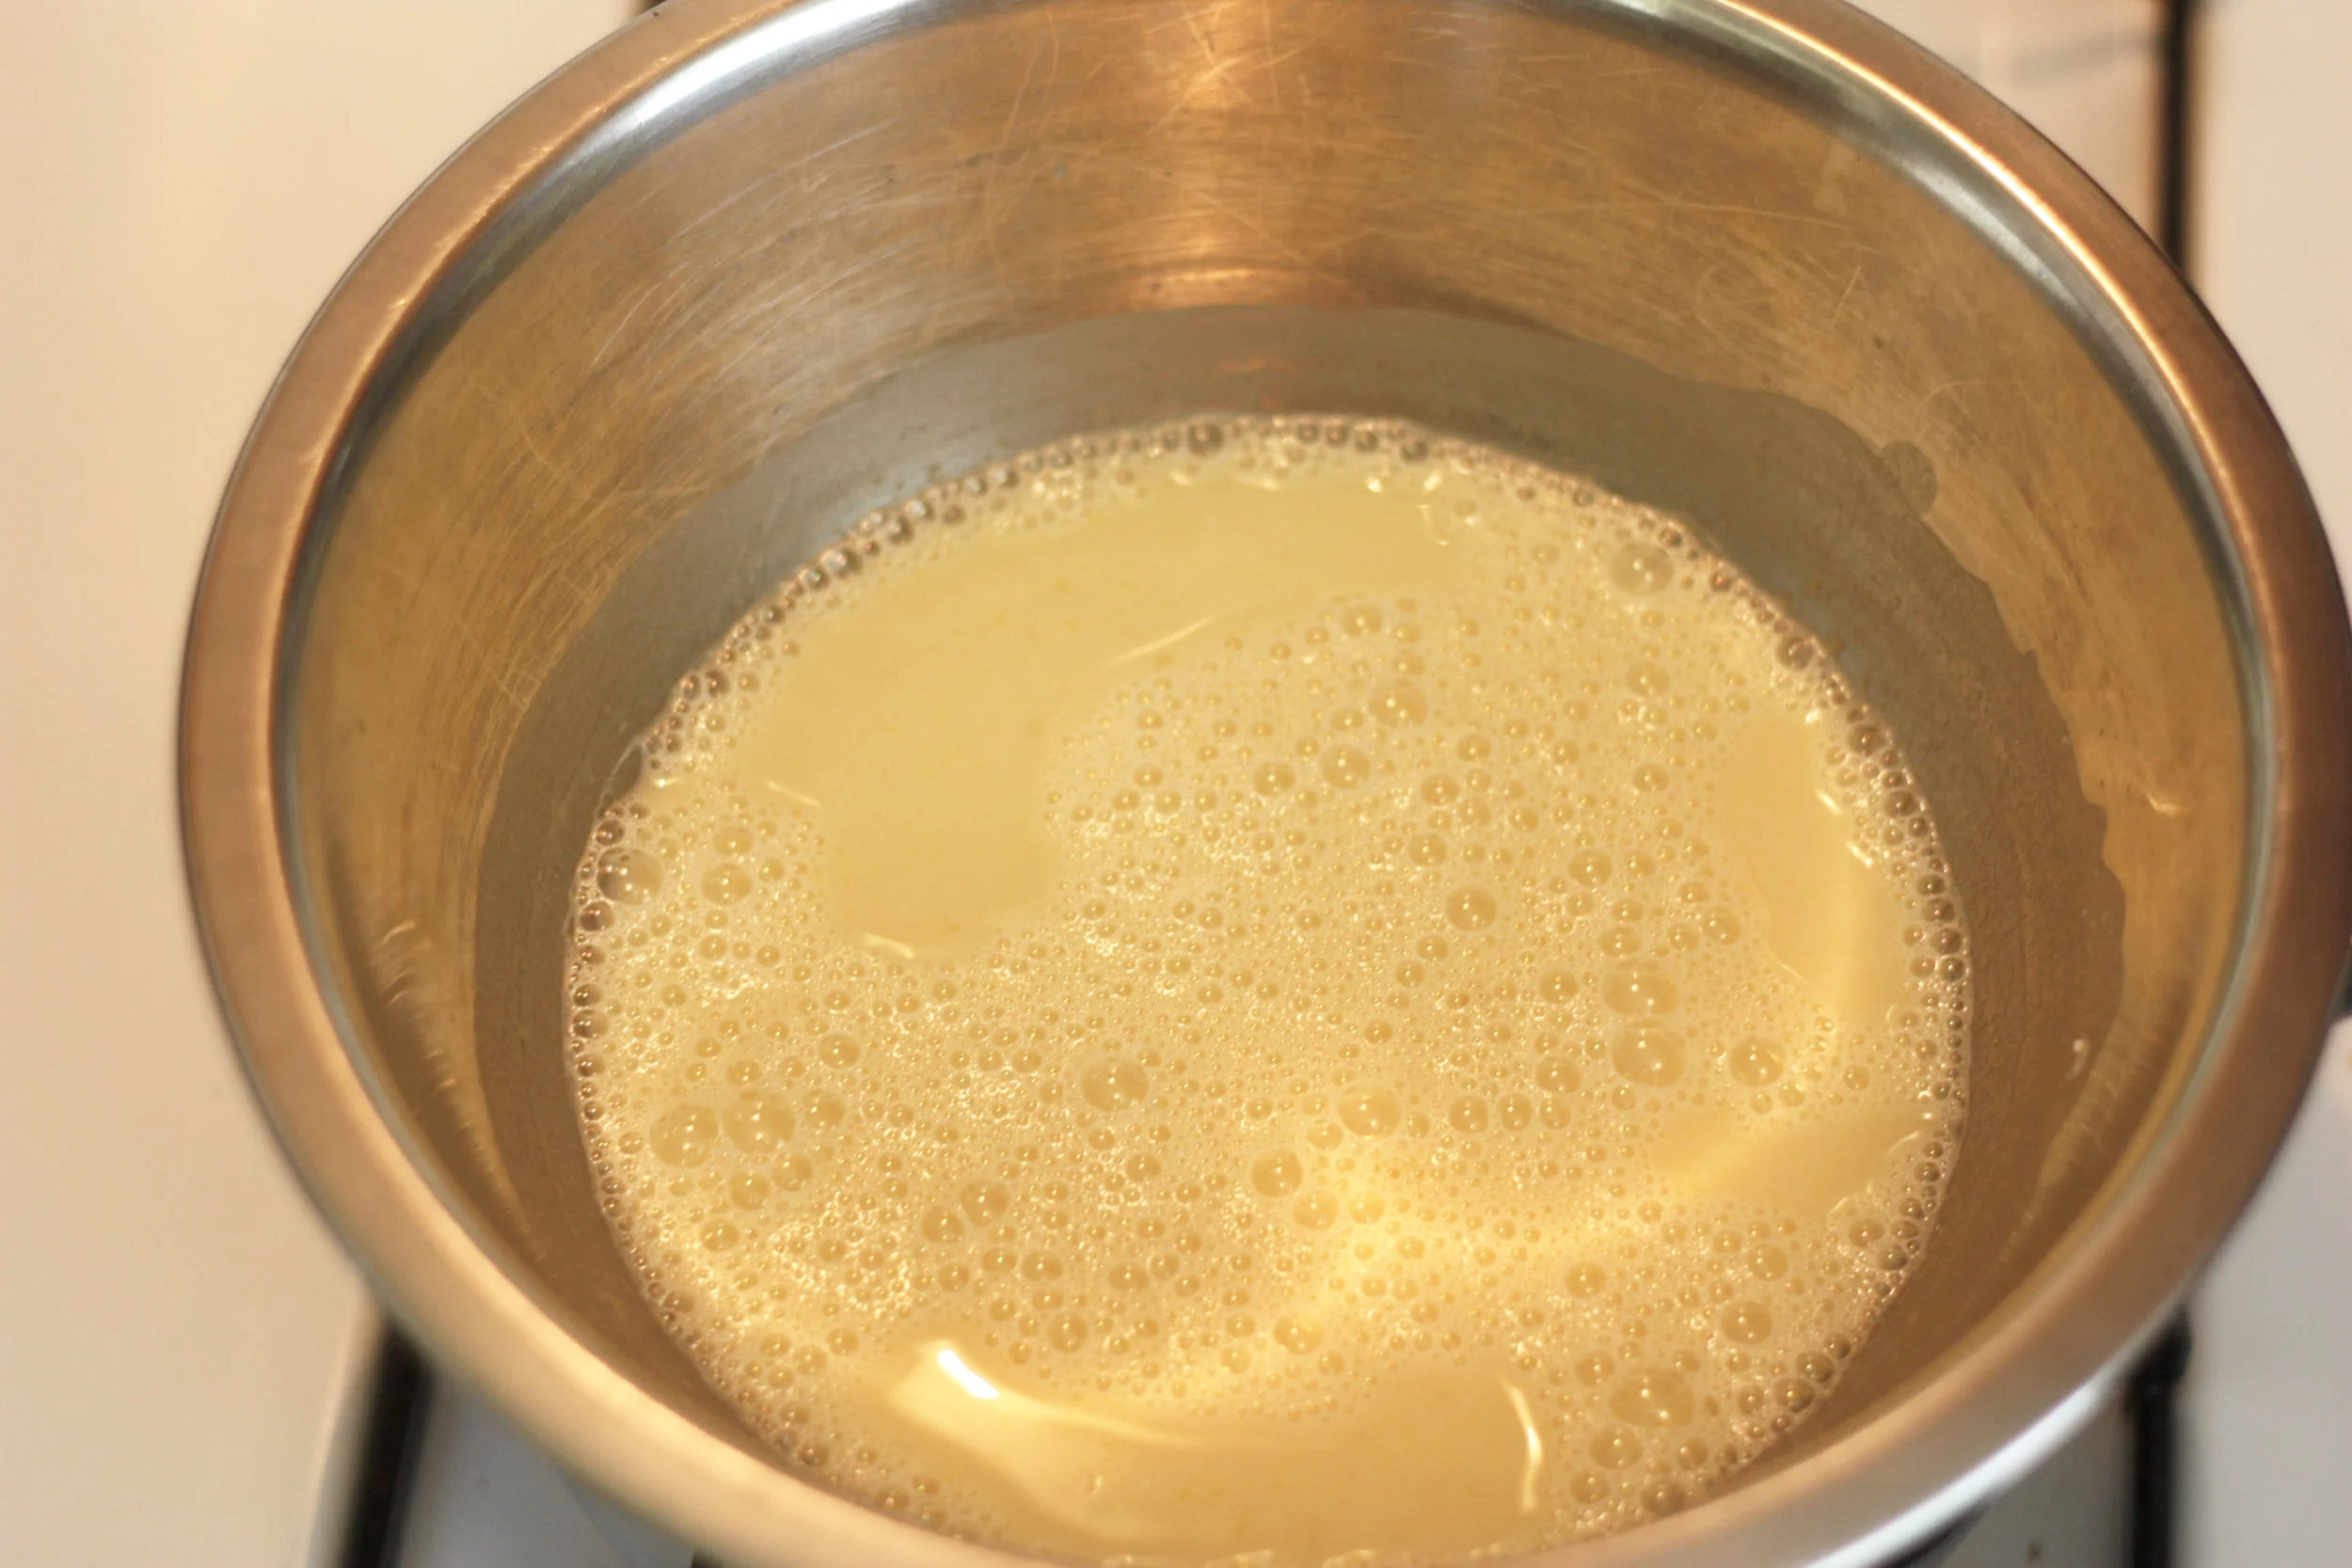
1. Mix flour, sugar, salt, egg yolks, and milk together in a double boiler. Use a whisk to gently remove any clumps while the custard thickens. Once the custard has thickened enough to coat the back of a spoon, remove from heat and stir in vanilla extract. Once cooled, spoon half of the custard mixture into a piping bag.
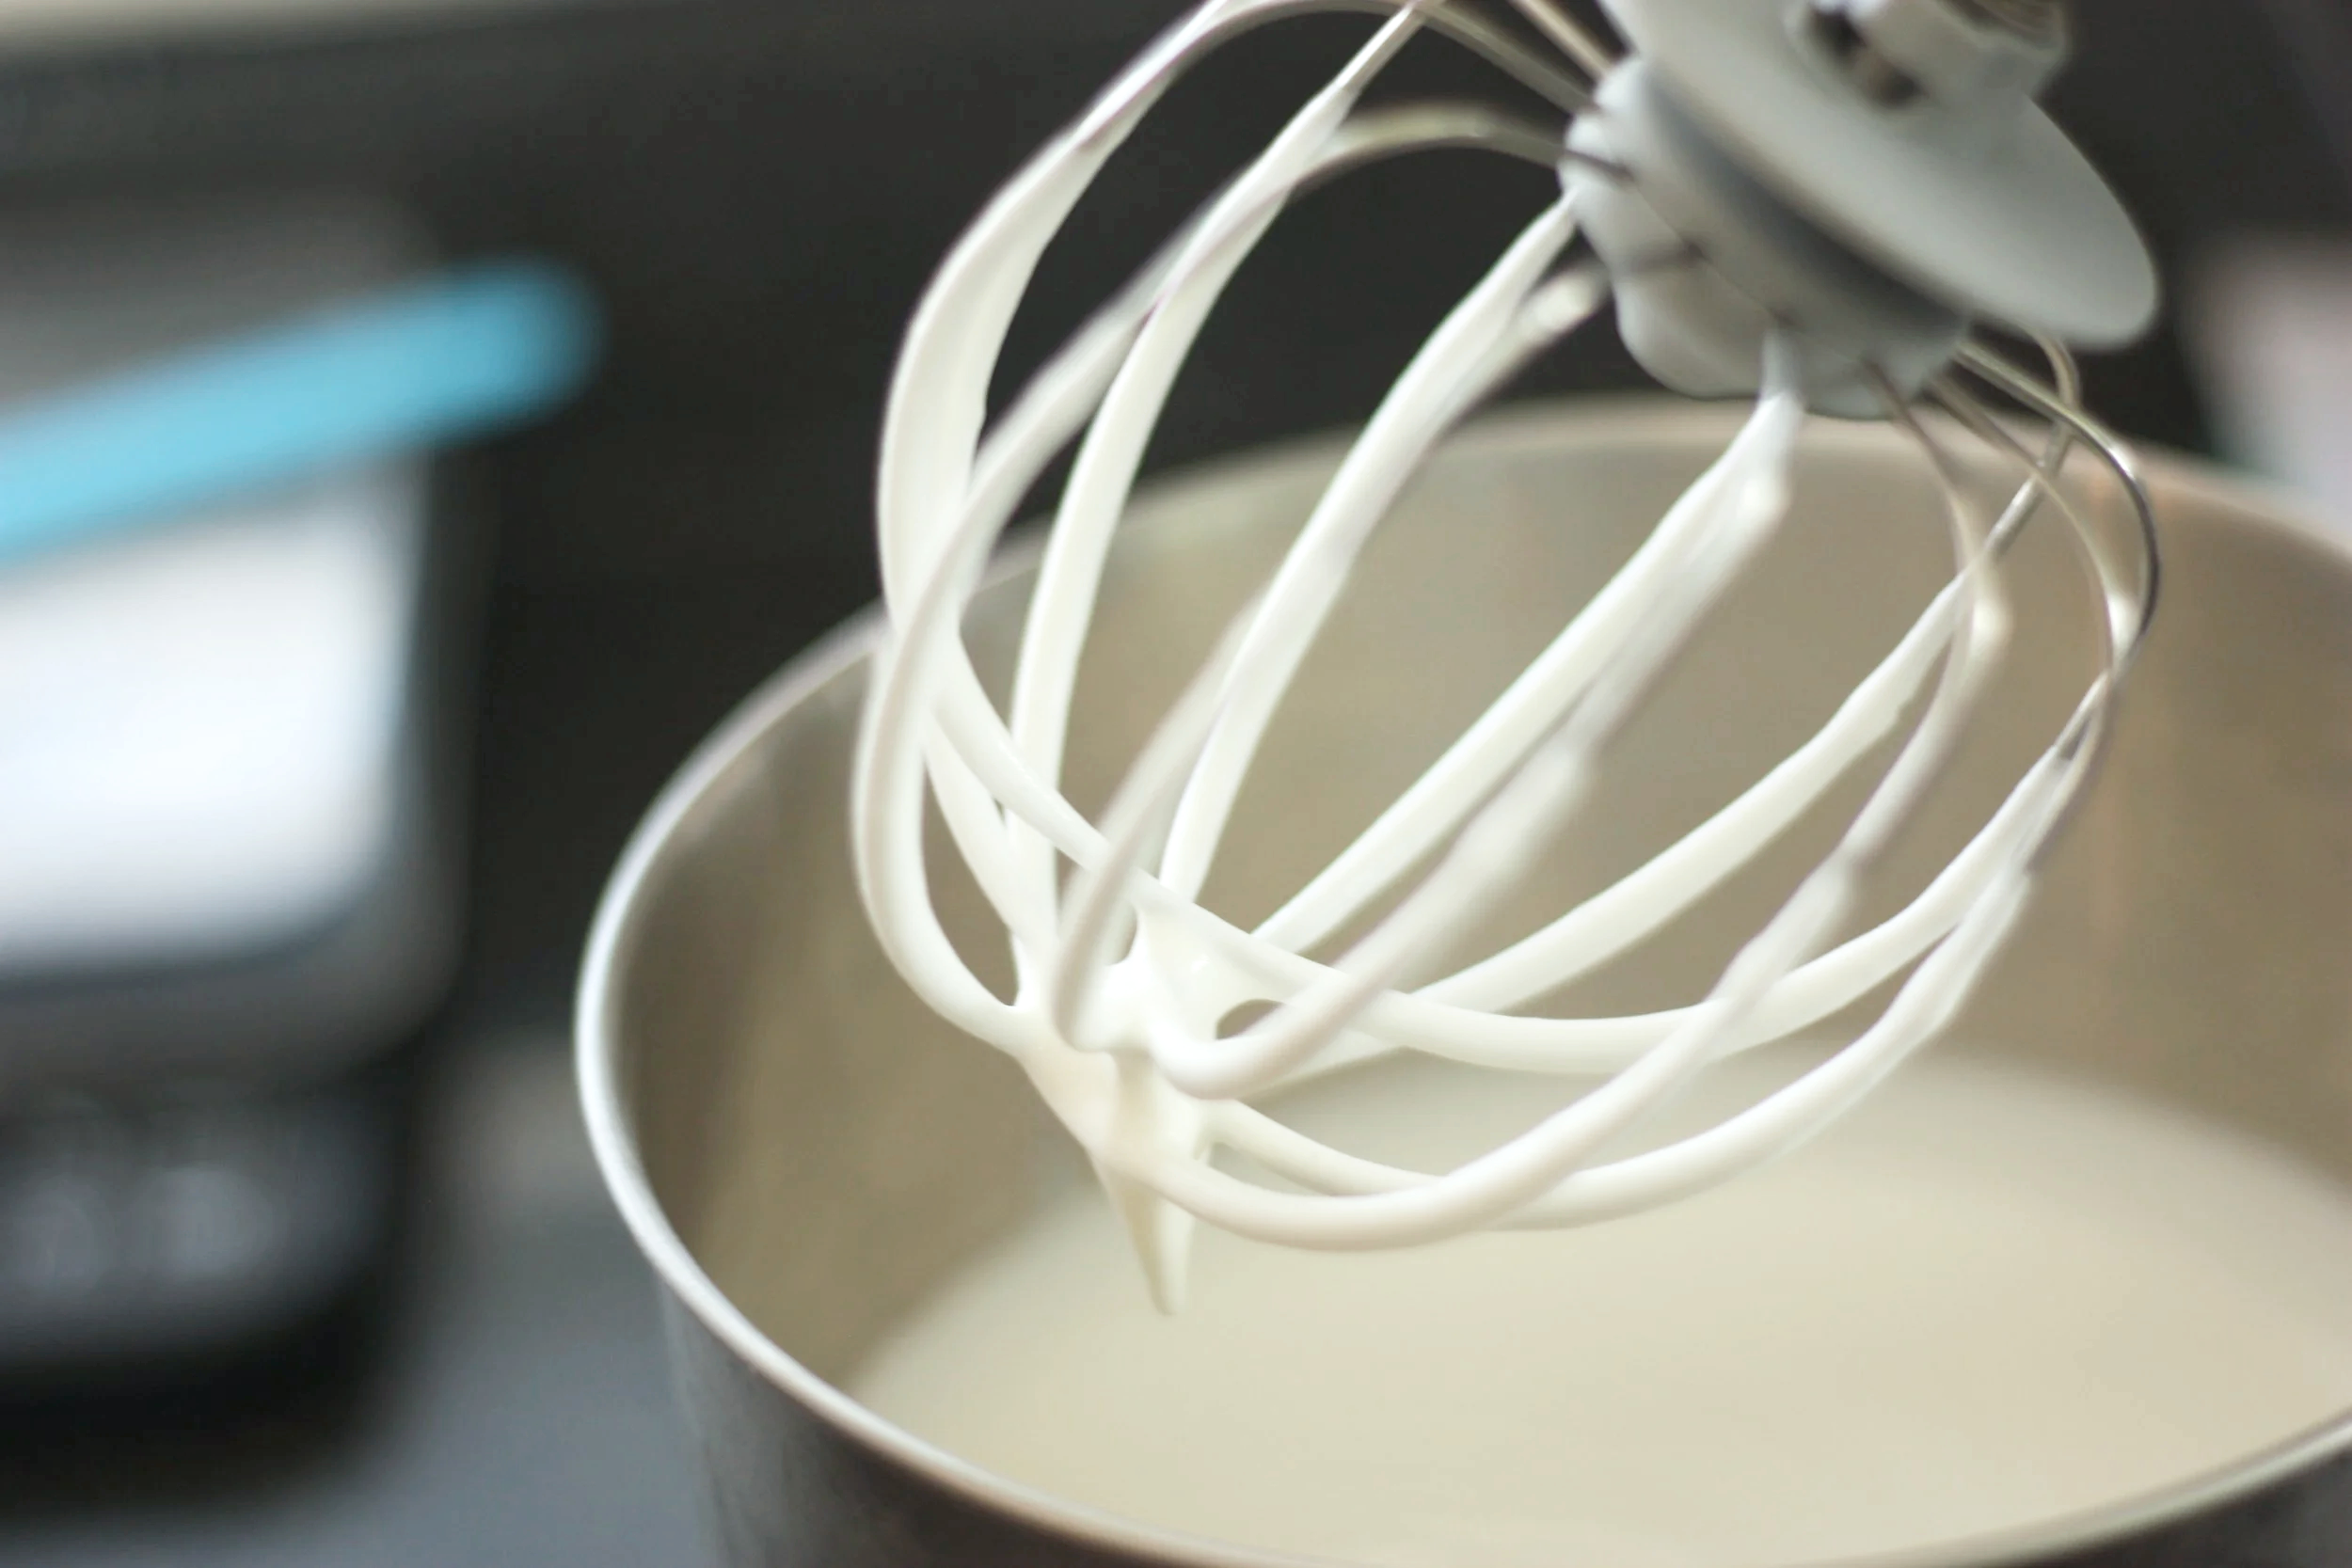
2. Using a stand mixer with the balloon whisk attachment in place, or a handheld mixer, pour two cups of chilled heavy whipping cream into your mixing bowl. Whip the cream to stiff peaks by placing the mixer on a medium speed. This will take about 5 minutes. You’ll know it’s ready when the peaks hold their shape. If you overmix, you’ll make butter— so pay close attention.
3. While your whipped cream is mixing, make your flavor mixture. Pour an entire can of sweetened condensed milk into a medium sized mixing bowl. To the condensed milk, you’ll add a banana, a splash of vanilla extract, and the remainder of your custard mixture. Mix thoroughly using a whisk or a rubber spatula.
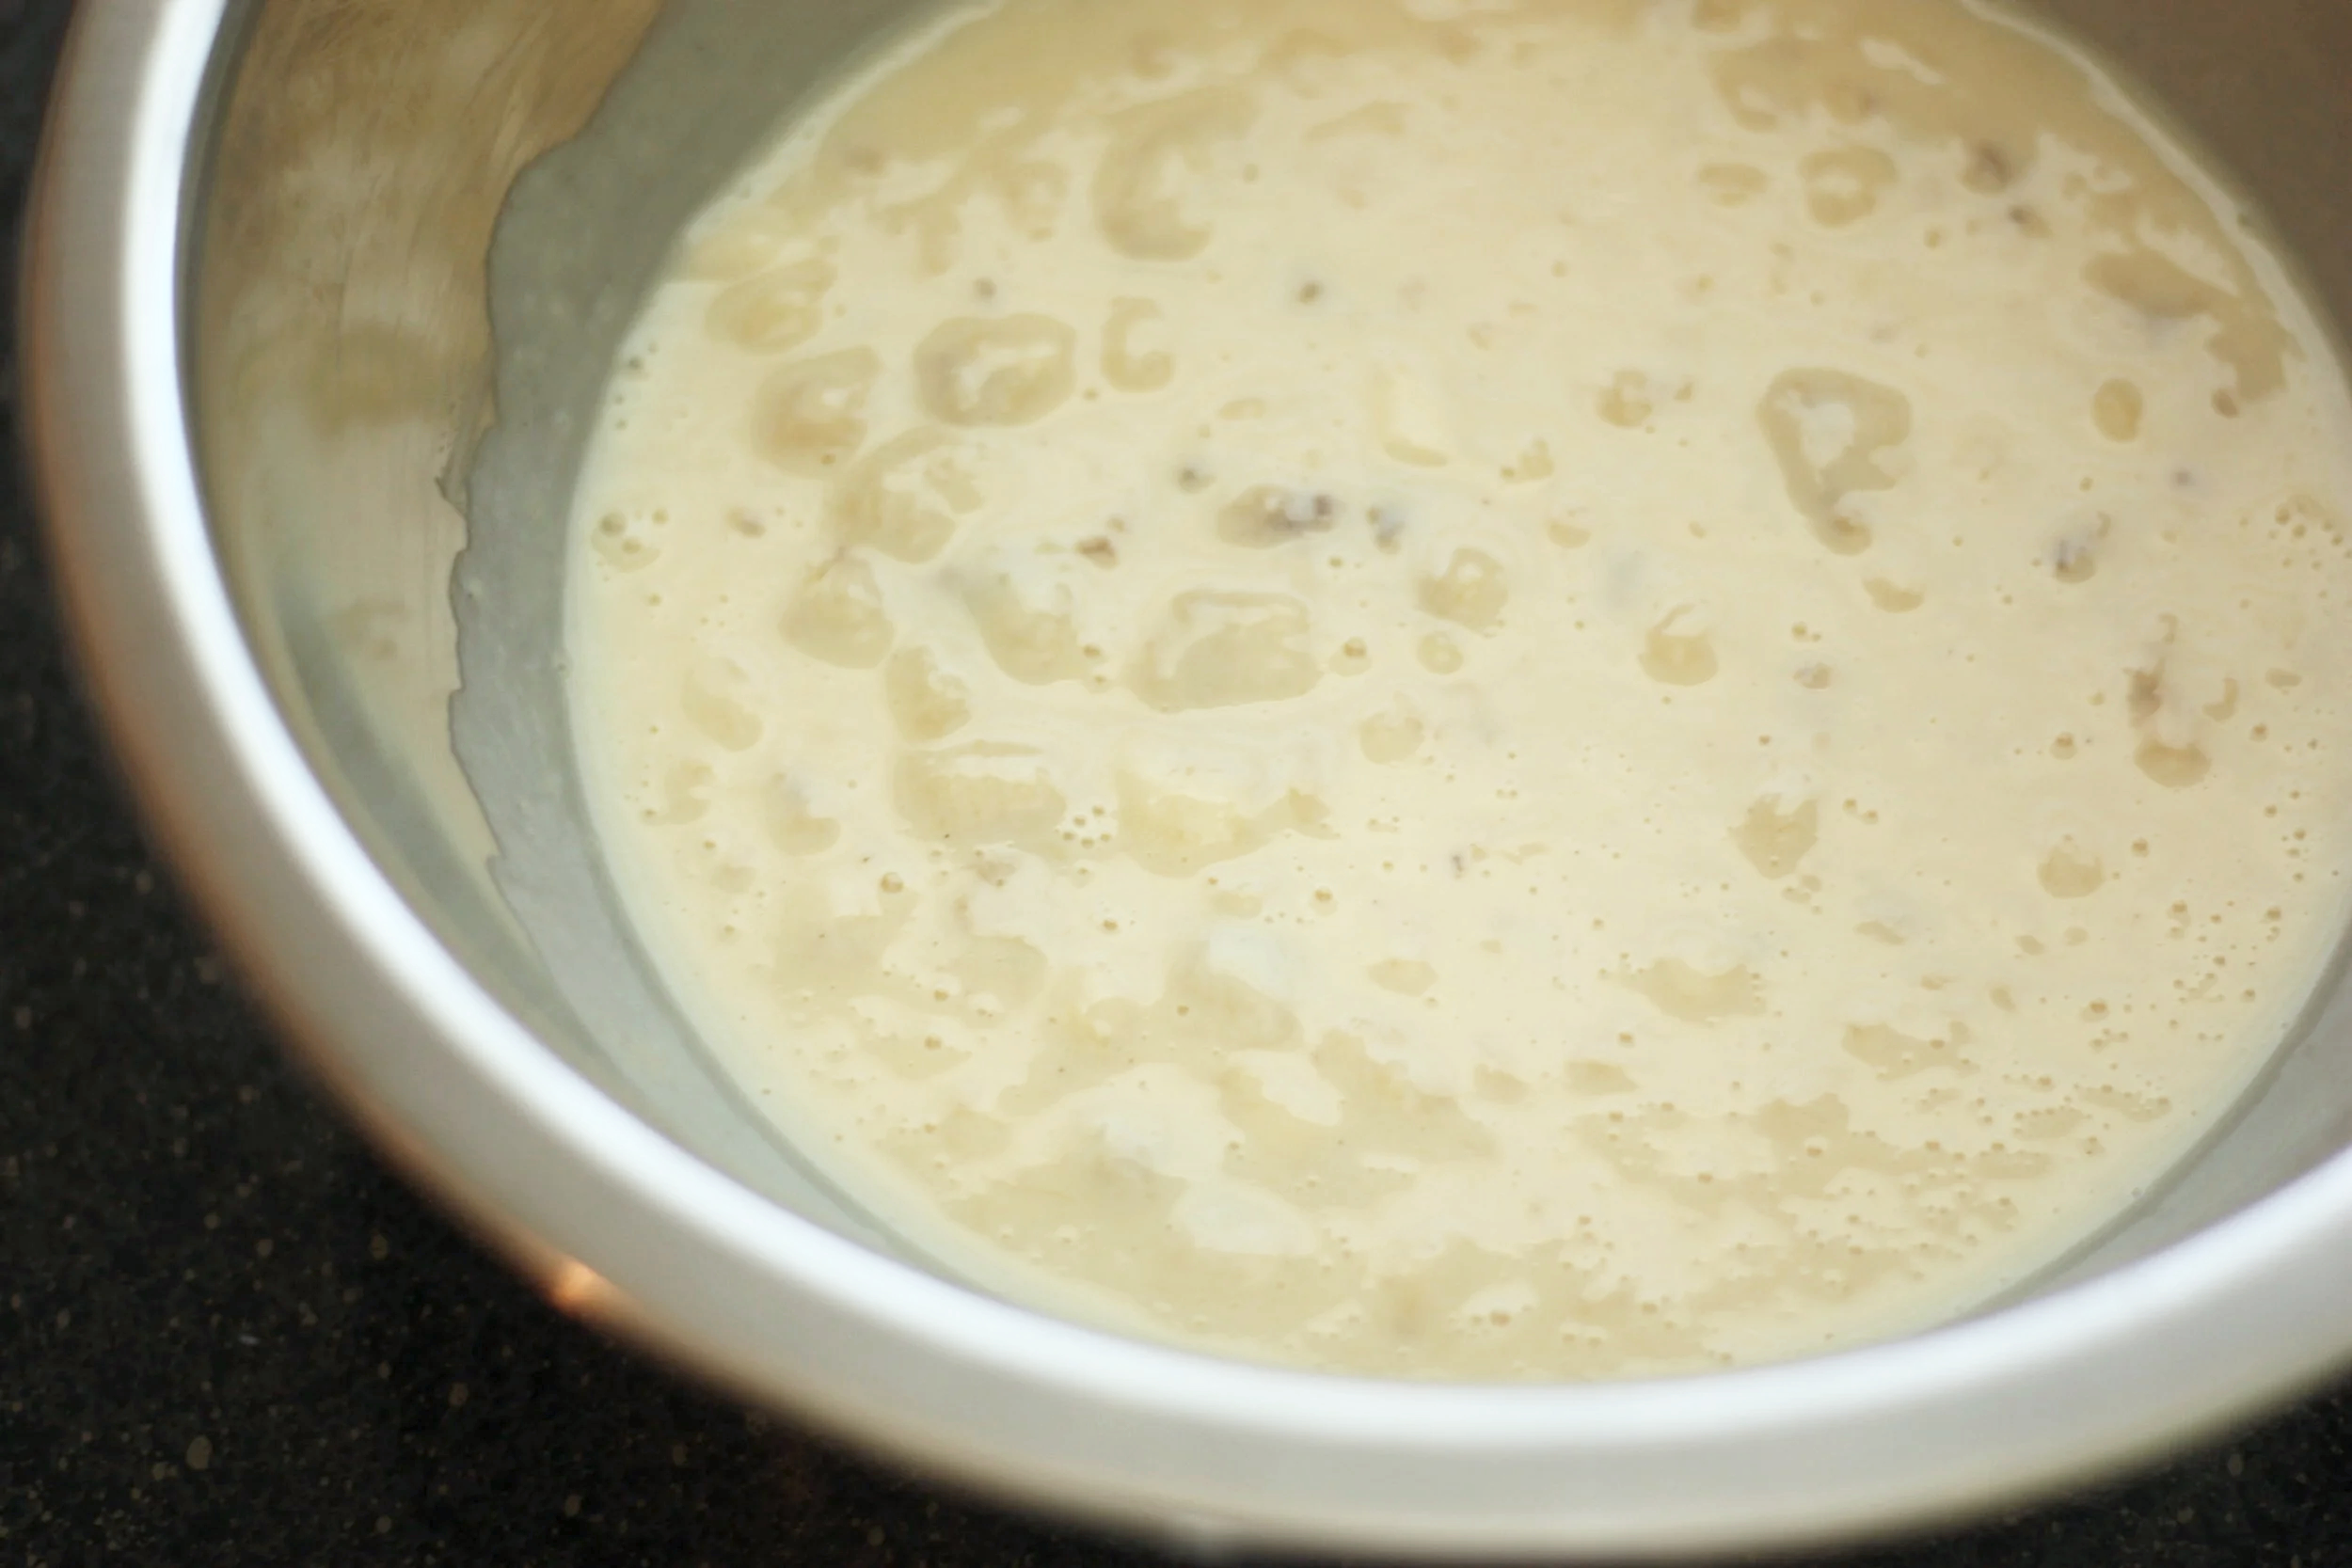
4. Pour the flavor mixture into the whipped cream and whisk until fully combined. This should only take between 15 and 20 seconds— don’t overmix! You want to keep the whipped cream as light and fluffy as possible.
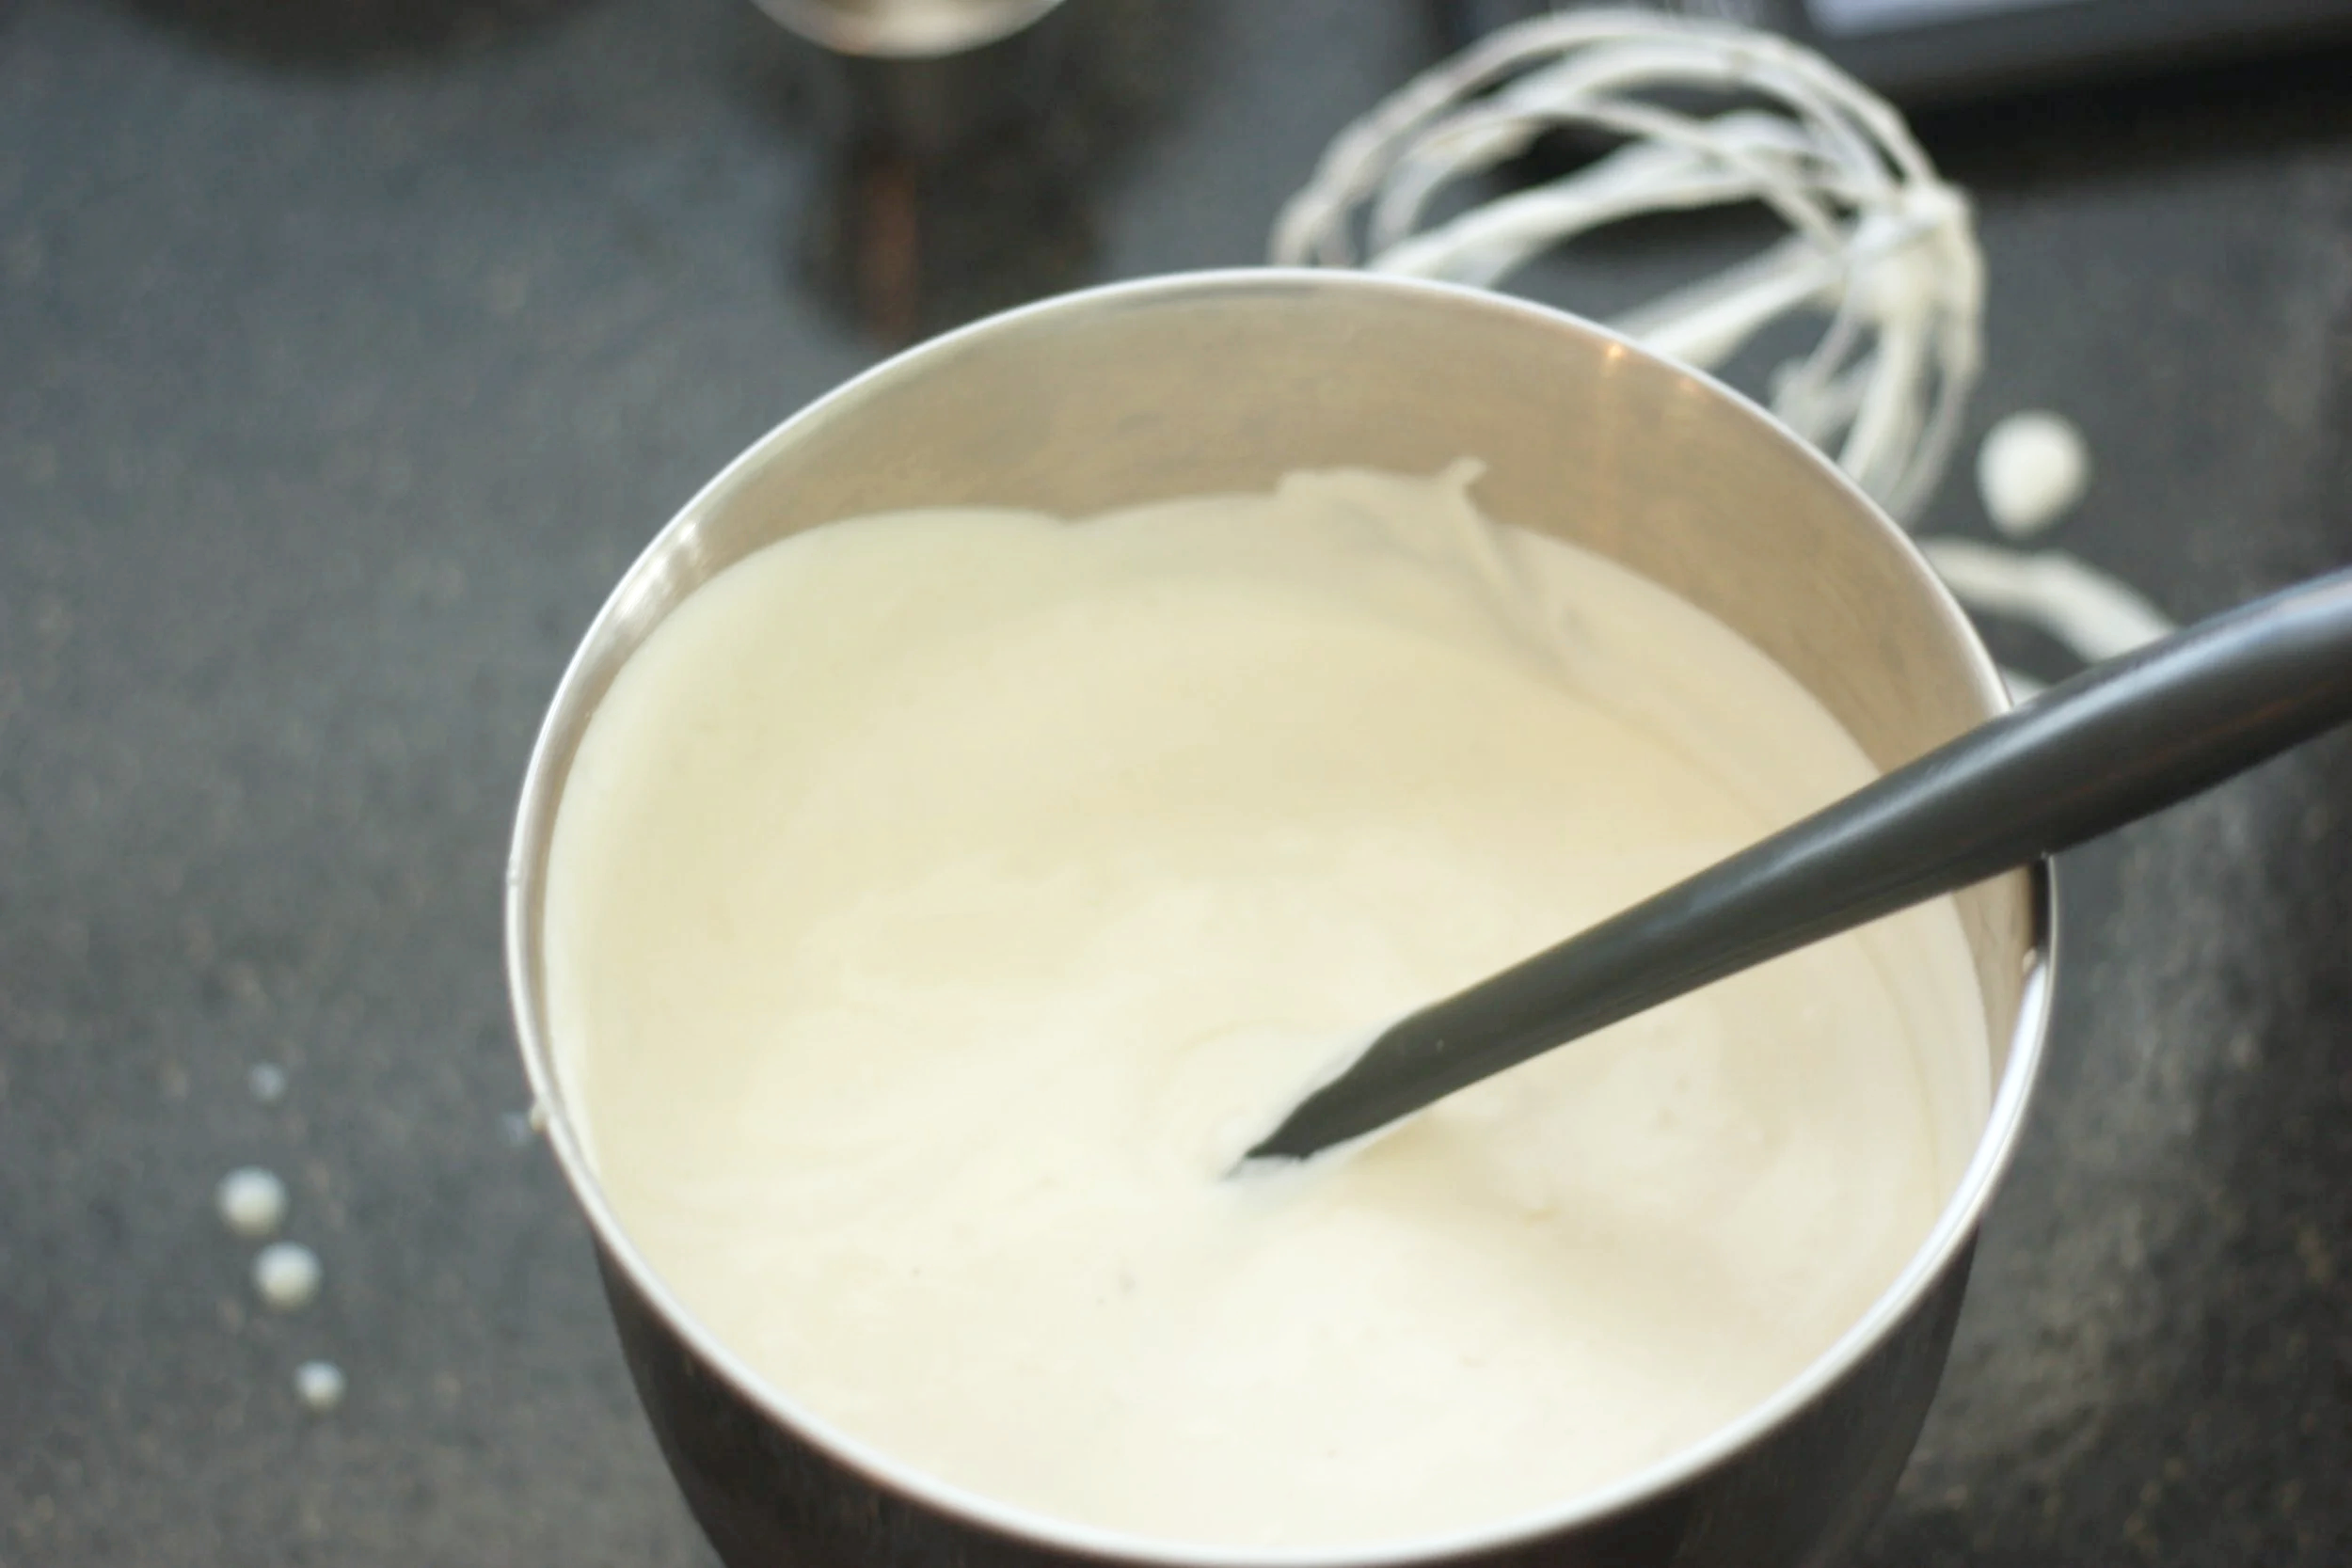
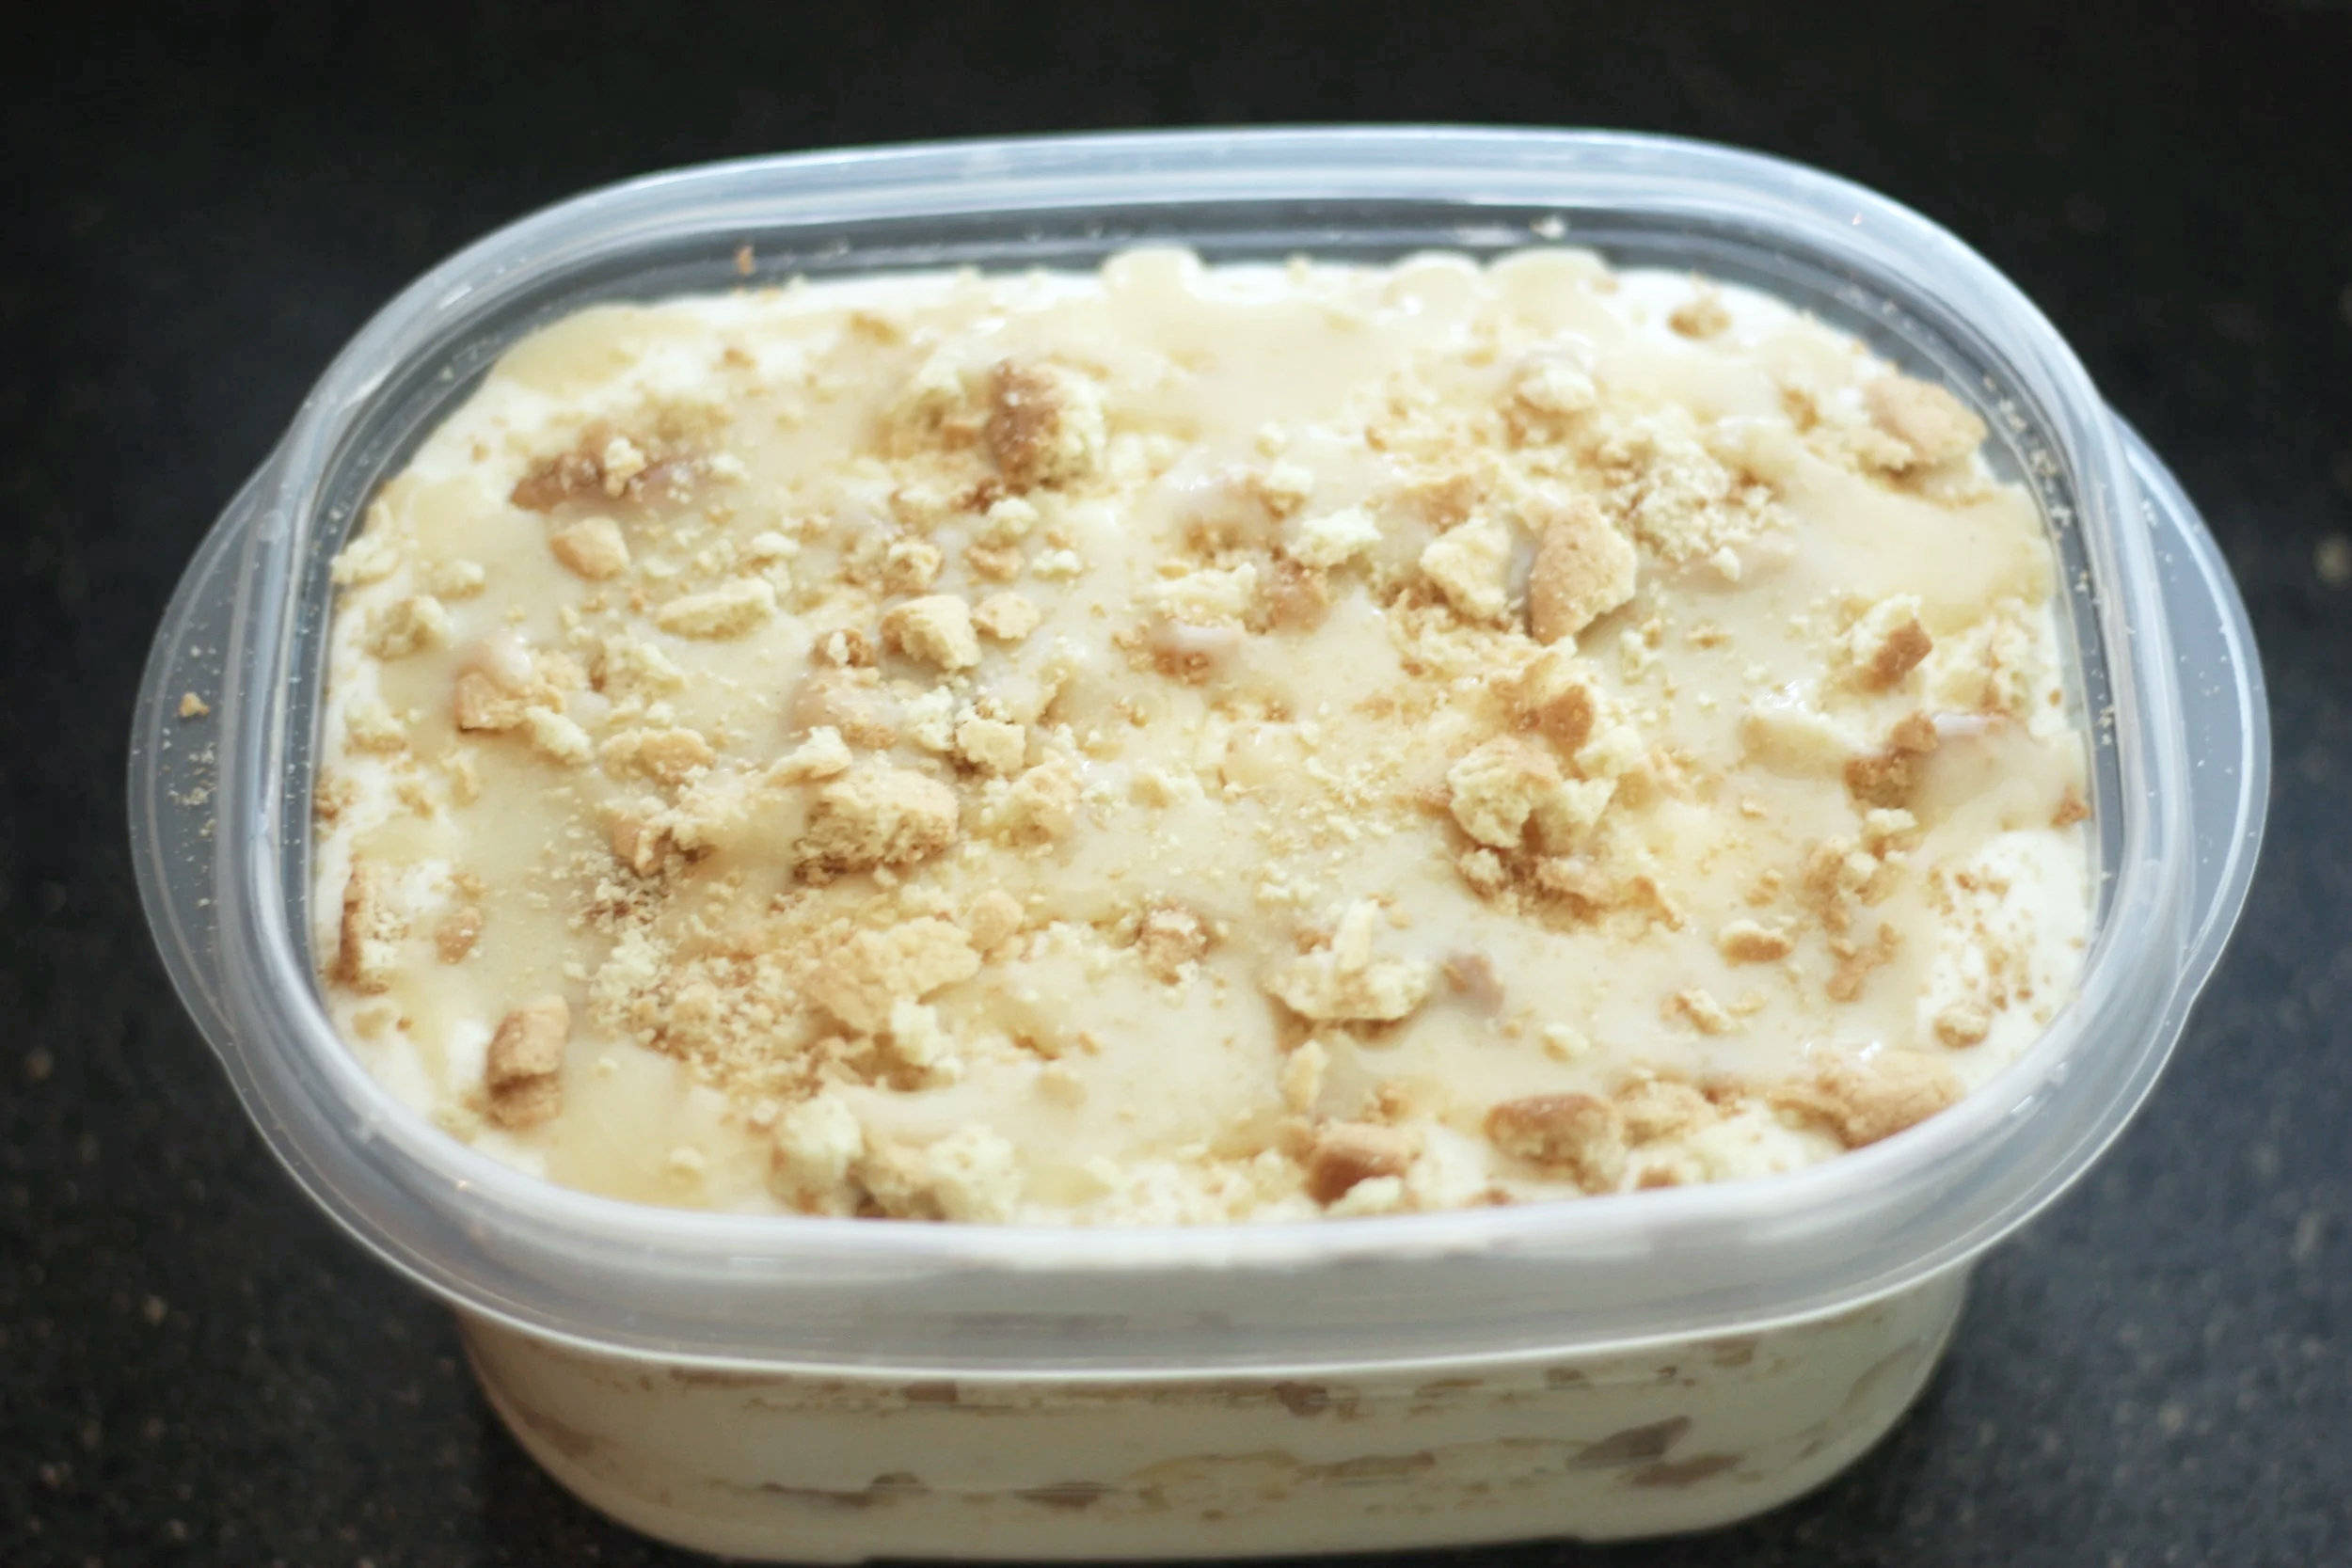
5. Pour a third of the ice cream mixture into a freezer-safe container. Top this with a thin layer of pudding, and 5 crushed Nilla Wafers. Repeat this step twice. You should now have three layers of ice cream, pudding, and cookies. Place ice cream in the freezer for 4-6 hours before consuming.
Modifications
Substitute the vanilla extract for vanilla bean paste.
Replace the Nilla Wafers with Chessmen Cookies.
FAQ
“What’s the best way to store this?”
A tip I learned while working at Ben & Jerry’s is to cover the ice cream with a sheet of parchment paper. I place the sheet directly on top of the ice cream before covering it with an airtight lid. The parchment paper prevents ice crystals from forming, keeping the ice cream fresh for up to a month in the freezer.
“How do I prevent the ice cream from freezing so hard?”
Try mixing a tablespoon of vodka in with the sweetened condensed milk. Alcohol doesn’t freeze, so it will ensure your ice cream isn’t frozen solid.